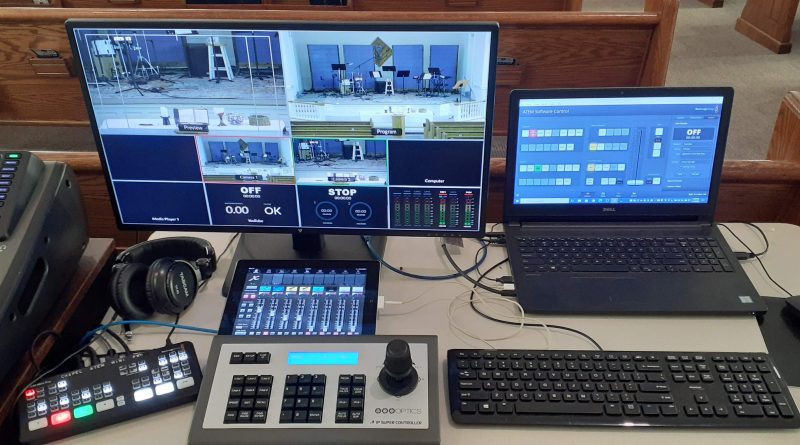
Remote PTZ Camera Livestream Installation Project
On November 25th, 2018 my first livestream went public. It was a worship service that streamed to Facebook and was
Read MoreAuthor, Media Producer, Beekeeper, Gardener, Builder of Stuff…
On November 25th, 2018 my first livestream went public. It was a worship service that streamed to Facebook and was
Read More
Video equipment companies seem to be in a mad rush to continually up the resolution of cameras, editing systems, and
Read More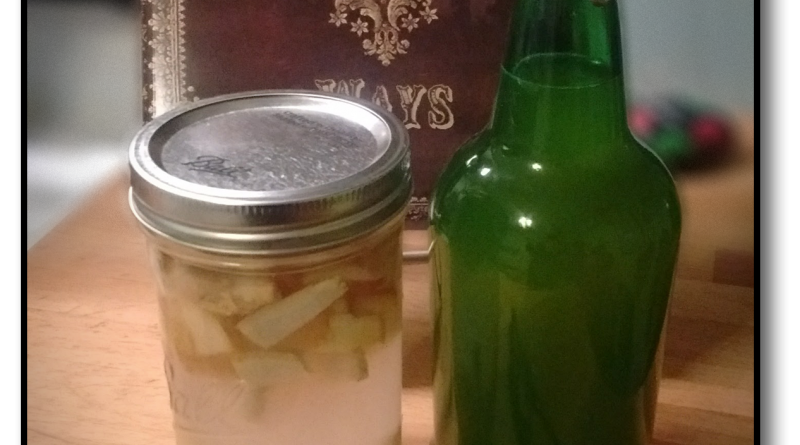
I have recently taking up a new hobby – brewing ginger beer. It’s a tasty drink that’s full of healthy
Read MoreThere is no excerpt because this is a protected post.
Read More[youtube]http://www.youtube.com/watch?v=pzOYyKdMhR0[/youtube] A critical component of maintaining our little backyard (and front yard) farm is cutting and mowing the bits between
Read MoreI once had a video production project that featured the work of Bible translators coming together for a conference. It
Read MoreI’ve been wanting to get a wooden playset for the girls to put in the back yard. But, if you’ve
Read MoreThanks to the nice folks over at the Birmingham Botanical Gardens, we now have our first 2 rain water barrels
Read MoreCustomers love audio products. Whether they are recordings of seminars and teleconferences, one-on-one interviews, or audio versions of print materials,
Read MoreFarmer Andy has been busy again building trellises for the Seltz Raised-Bed Garden 2.0. The Raised bed boxes on the
Read More