Brewing Ginger Beer at Home
 |
 I have recently taking up a new hobby – brewing ginger beer. It’s a tasty drink that’s full of healthy probiotics and is dead simple to make.
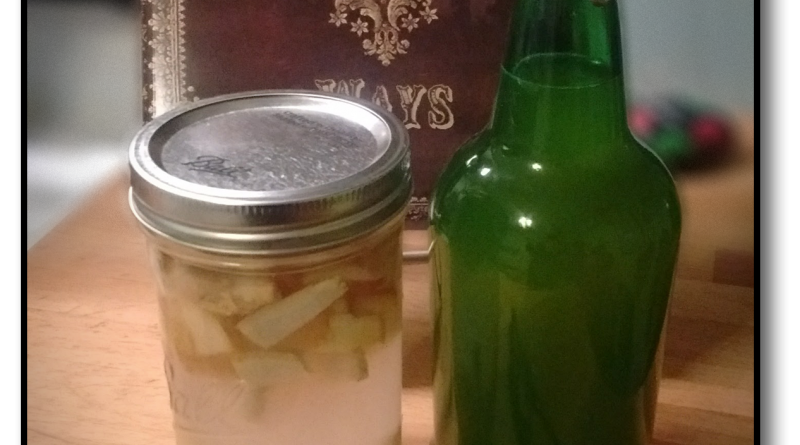
Mrs. Go-To Guy! Gave me a book on Father’s Day called, “The Lost Ways,†which kicked-off my interest in homemade ginger beer. The book gives instructions for all manner of DIY skills that would have been common knowledge to pioneers moving west in the 1800’s. When I came to the section on home brewing, the ginger beer instructions seemed manageable. The ingredients are cheap and easy to come by, no special tools are required, and the process is super easy. The process is very forgiving compared to other types of brewing.
You might be wondering what the difference is between the ginger ale on the shelf at the Piggly Wiggly and ginger beer. The main distinction is fermentation. The basics are the same: water, sugar, ginger root, and a little lemon juice. With ginger ale, you combine the ingredients into a sugar syrup and then add carbonated water when you are ready to drink it. For ginger beer, you add some ‘ginger bug‘ (a starter culture) to the basic mix and let it ferment for a few days. The ginger bug eats the sugar and releases carbon dioxide into the mixture to create the fizz!
The resulting ginger beer is chock full of probiotics and enzymes, which are good for your digestion. The fermentation process produces trace amounts of alcohol, but not any significant amounts. It’s possible to brew a ‘hard ginger beer’ with more sugar and a considerably longer fermentation period, but this recipe keeps you in soda country.
Tools Required:
- 1 Gallon Pitcher or Glass Fermenting Jar
- Knife
- Measuring Spoons
- Measuring Cups
- Citrus Juicer
- 1 Quart Sauce Pan with Lid
- Funnel
- Fine Strainer
- Wooden Spoon
- Grolsch Bottles (optional)
Ingredients:
- 1 Large Lemon (or 2 medium)
- Ginger Root
- 1 1/2 Cups of Sugar
- 1 Tablespoon Molasses (optional if you use raw sugar)
- Ginger Bug
- 1 Gallon Filtered/Spring Water
Directions:
If you haven’t made a ginger bug yet, start by following the directions on this post and make one first. The process will take 5-7 days to start a ginger bug from scratch.
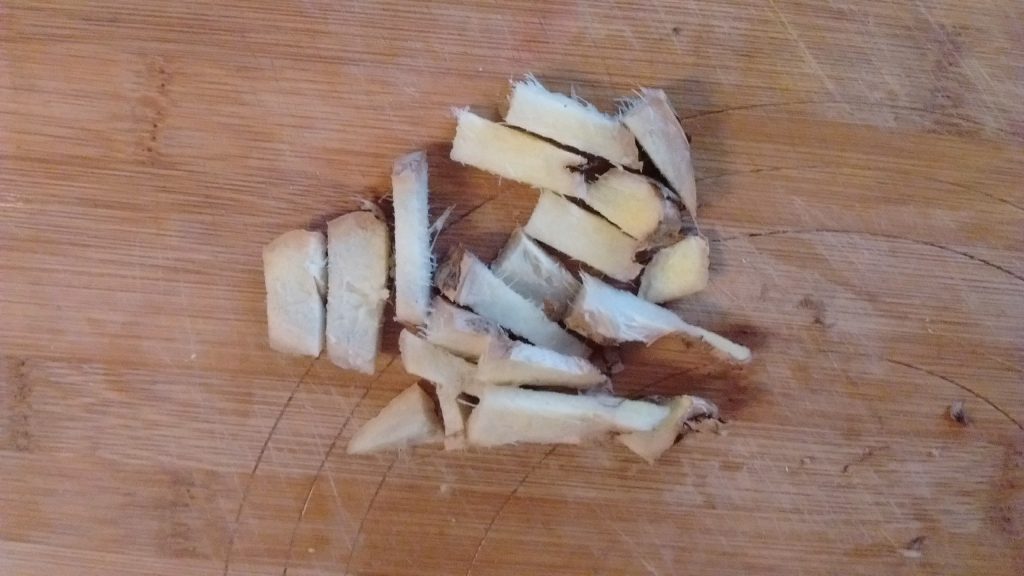
Chop approximately 1/3 pound (150 g) ginger. This is about 4 inches of root. The exact amount you use is a matter of taste. Use more if you want a spicier drink and less if you want it milder. Some people recommend grating the ginger, but I’ve gone to the extra effort and the results did not taste better. So, chopping is absolutely fine.
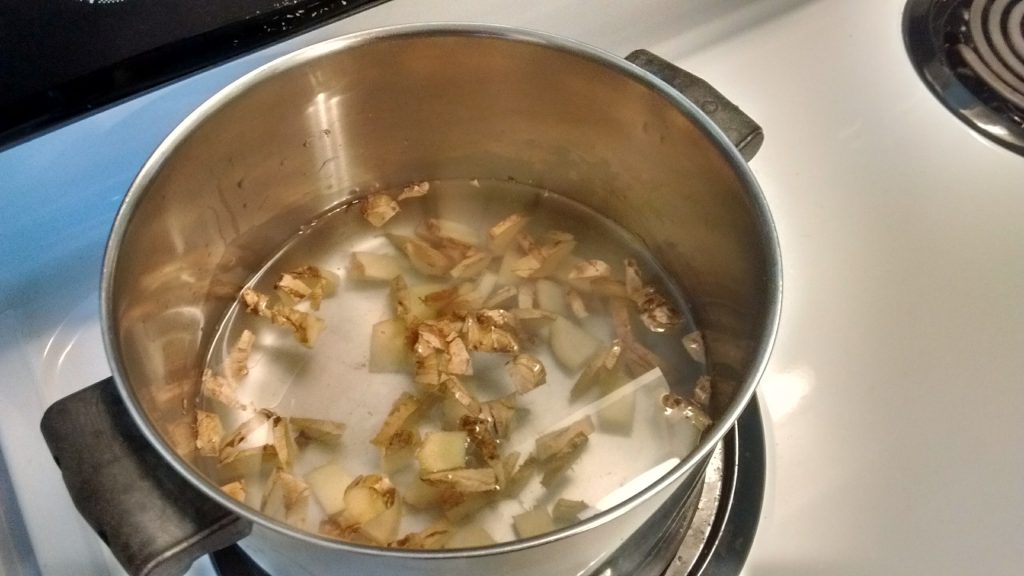
Put the chopped ginger into a 1 quart (1L) sauce pan filled about half full of water. Chlorinated tap water can kill the ginger bug. If your tap water is strongly chlorinated use filtered water or spring water. Bring the water to a boil, reduce the heat and continue to boil, covered, for 15 minutes. After 15 minutes, remove from heat and allow to cool. This will create the ginger tea which will provide the flavor for your ginger beer.
In your one gallon container add 1 1/2 cups (350 ml) sugar, the lemon juice, molasses, and 3/4 of the liquid from your ginger bug. Use the funnel and strainer to filter the pulp from the lemon juice and the the ginger chunks from the bug. Add about one quart (1 liter) of water and stir until the sugar dissolves.
If you use raw sugar omit the molasses.
When the ginger tea has cooled, pour it through the strainer into the on gallon container. Then, fill the container the rest of the way with water and mix everything together with the wooden spoon. Then, place the top on the container.
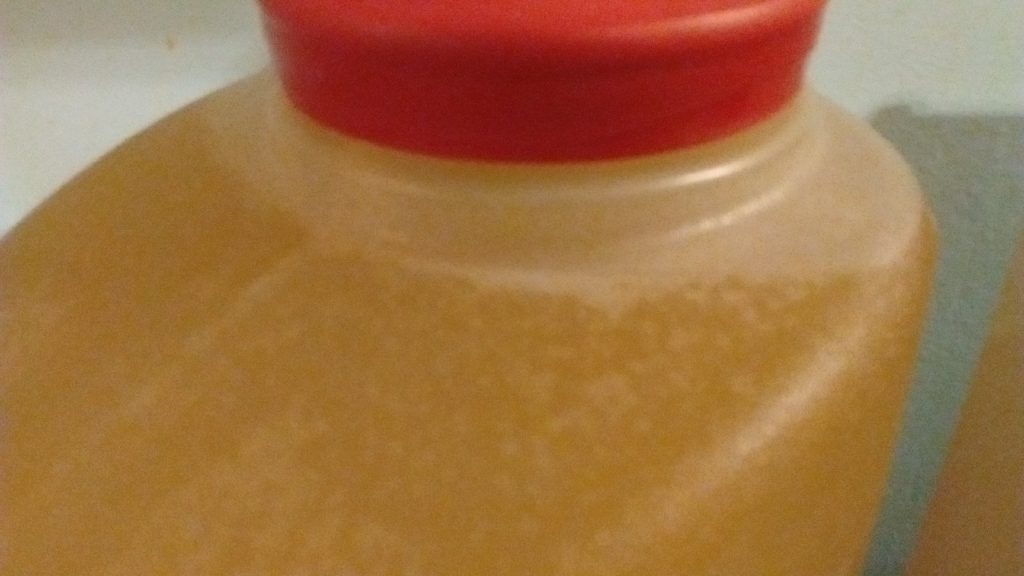
Let the large container sit in a warm location out of direct sun for approximately 3 days. The brew gets less sweet and more tangy as it goes. You will see a layer of white precipitate on the bottom – this is the culture. After 3 days, refrigerate the ginger beer to stop the fermentation process.
Add some fresh ginger to your ginger bug, feed it about a tablespoon of sugar, top it up with water, and put it in a warm place out of the sun so it can recharge itself for the next batch. Continue to feed it more sugar and ginger every few days.
Some people pour the ginger beer into individual serving size containers once the primary fermentation is complete. This helps to hold in more of the bubbles and gives the finished drink a more fizzy soda-like feel. Grolsch-style swing top gasket sealed glass bottles are a popular option. Plastic reusable beer bottles are another option for storing individual portions of ginger beer.
I brew my ginger beer for 24-48 hours in the large container and then transfer it to Grolsch bottles for the remainder of the fermentation time. When bottling individual portions, fill the bottles leaving a little ‘head room’ at the top, cap them, and leave them in a warm place out of sunlight for the rest of the fermentation time to build up carbonation before refrigerating. If you are not happy with the level of carbonation, you may add a little extra sugar (a half teaspoon should do) to each bottle before capping to give the cultures a little extra to ferment. The fermentation process can build up enough pressure to cause a bottle to explode, so it’s better to be cautious – specially if you use glass bottles.
There will be a probiotic sediment at the bottom of the bottle. Some people strain it while pouring to clarify the drink. I prefer to shake the bottle before pouring to get an extra probiotic kick!
Now, pop open a bottle, pour some fresh ginger beer over ice, and enjoy!