Bee Colony Removal – Part 2
|
|
 It has been quite a while since I loaded all my gear into a van and drove to my friends’ Butch and Gina’s place to cut a colony of bees out of the wall of their house. A post mortem on the experience is long overdue. I’ll start with the good news, I successfully removed the colony and relocated the queen to the top bar hive in my yard…
The bad news is that the colony struggled to rebuild their numbers through the summer and fall. Ultimately, they didn’t survive the winter. It was a great learning experience, and I also got more than 40 pounds of tasty local honey to share with friends and neighbors (I still have a little left.)
So, What Happened?
Here’s a short video of me up on the scaffold during the process of removing the bees…
 There is a saying that ‘no plan survives first contact with the enemy.’ In this case, everything followed the plan almost to perfection. But, the one thing that went wrong was pretty bad – more on that later.
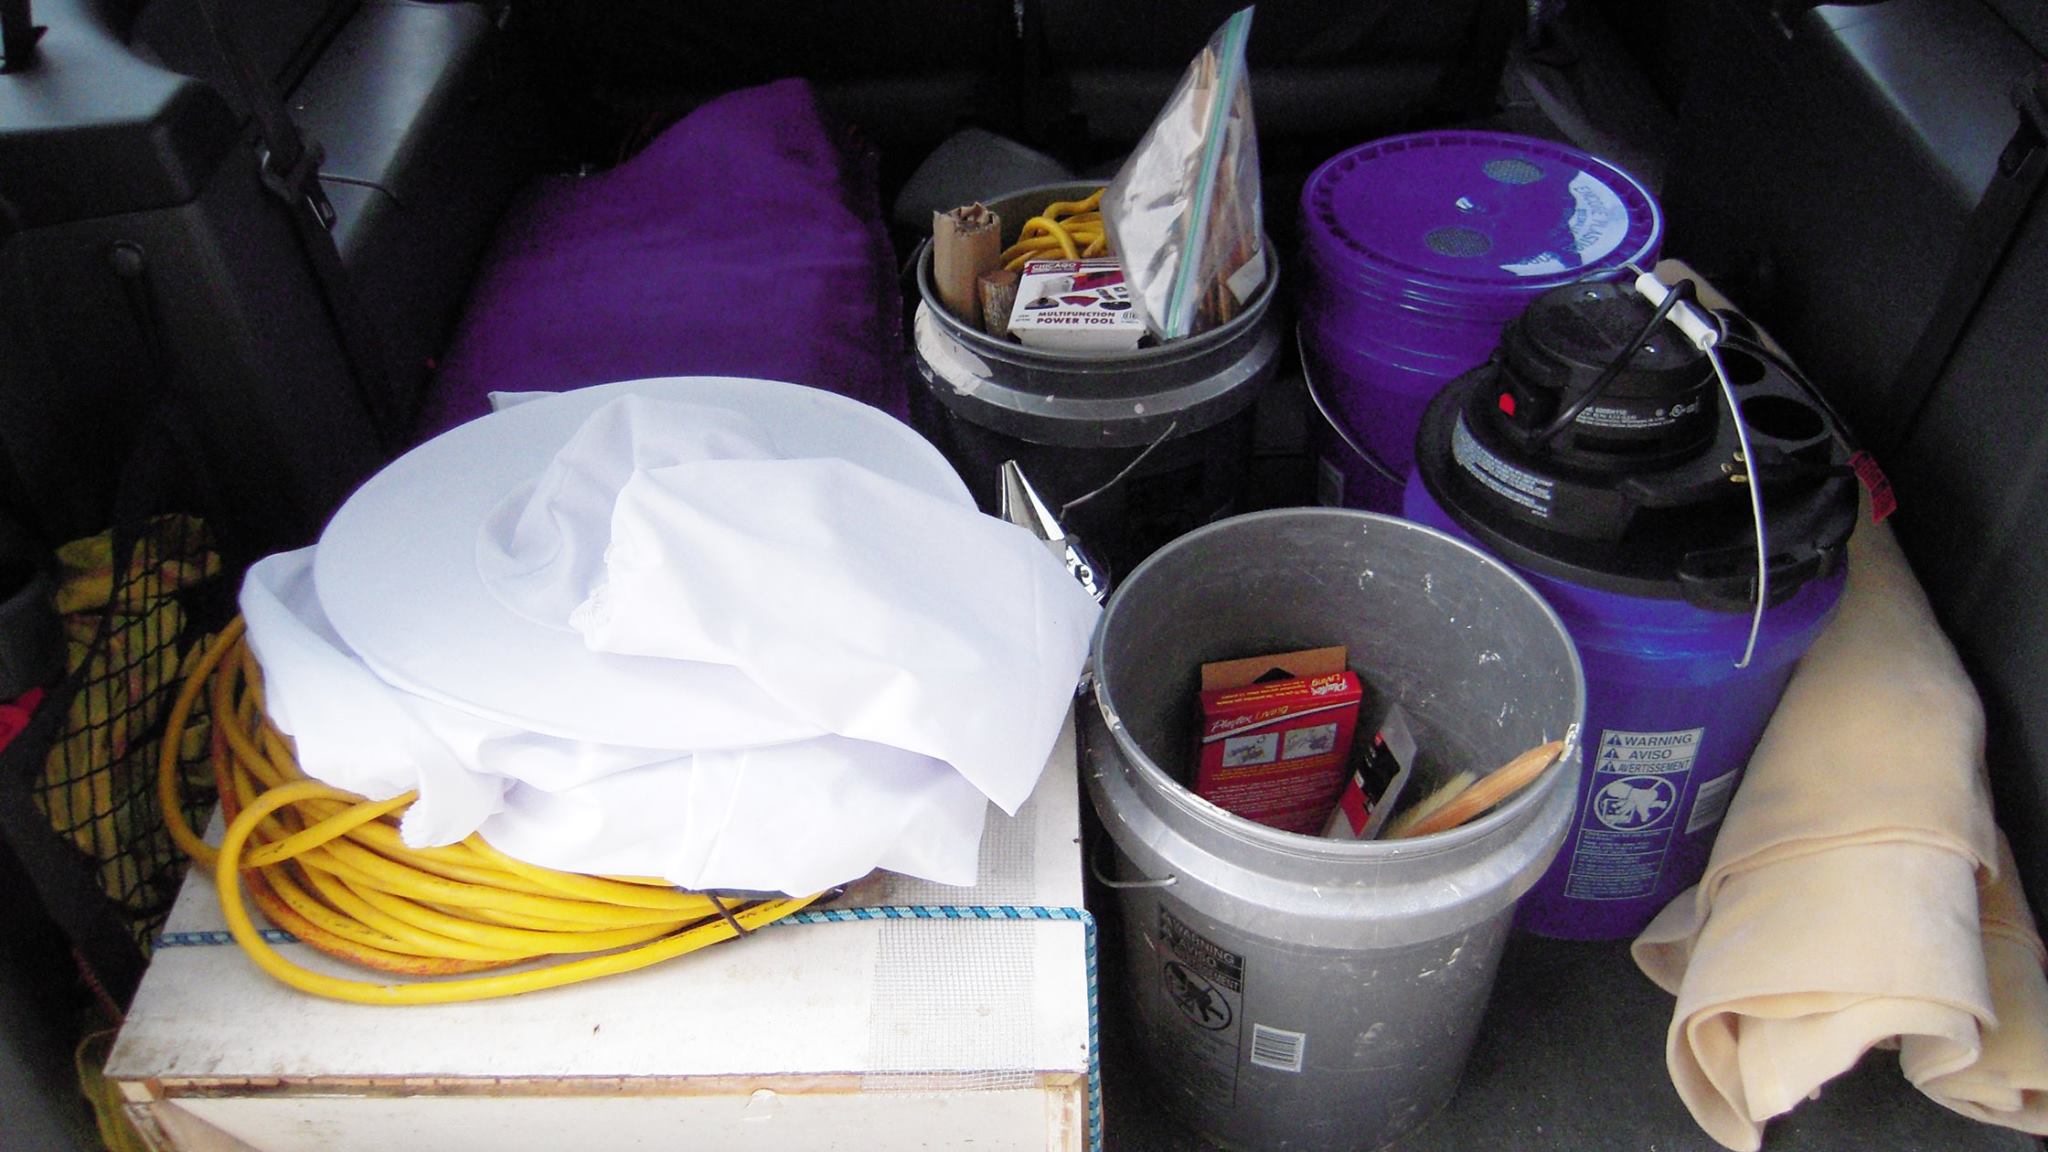
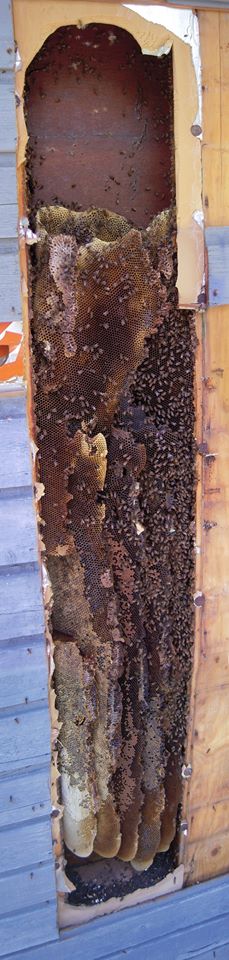
When I got to the house in the morning, I unloaded all my tools, inspected the wall, and got everything into position to start working. Step one was to cut away the siding and any exterior cladding to reveal the hive. I discovered that the bees had made their home in one single wall cavity. The total space was about 1 foot wide and 8 feet tall, and the bees had filled up the vast majority of it.
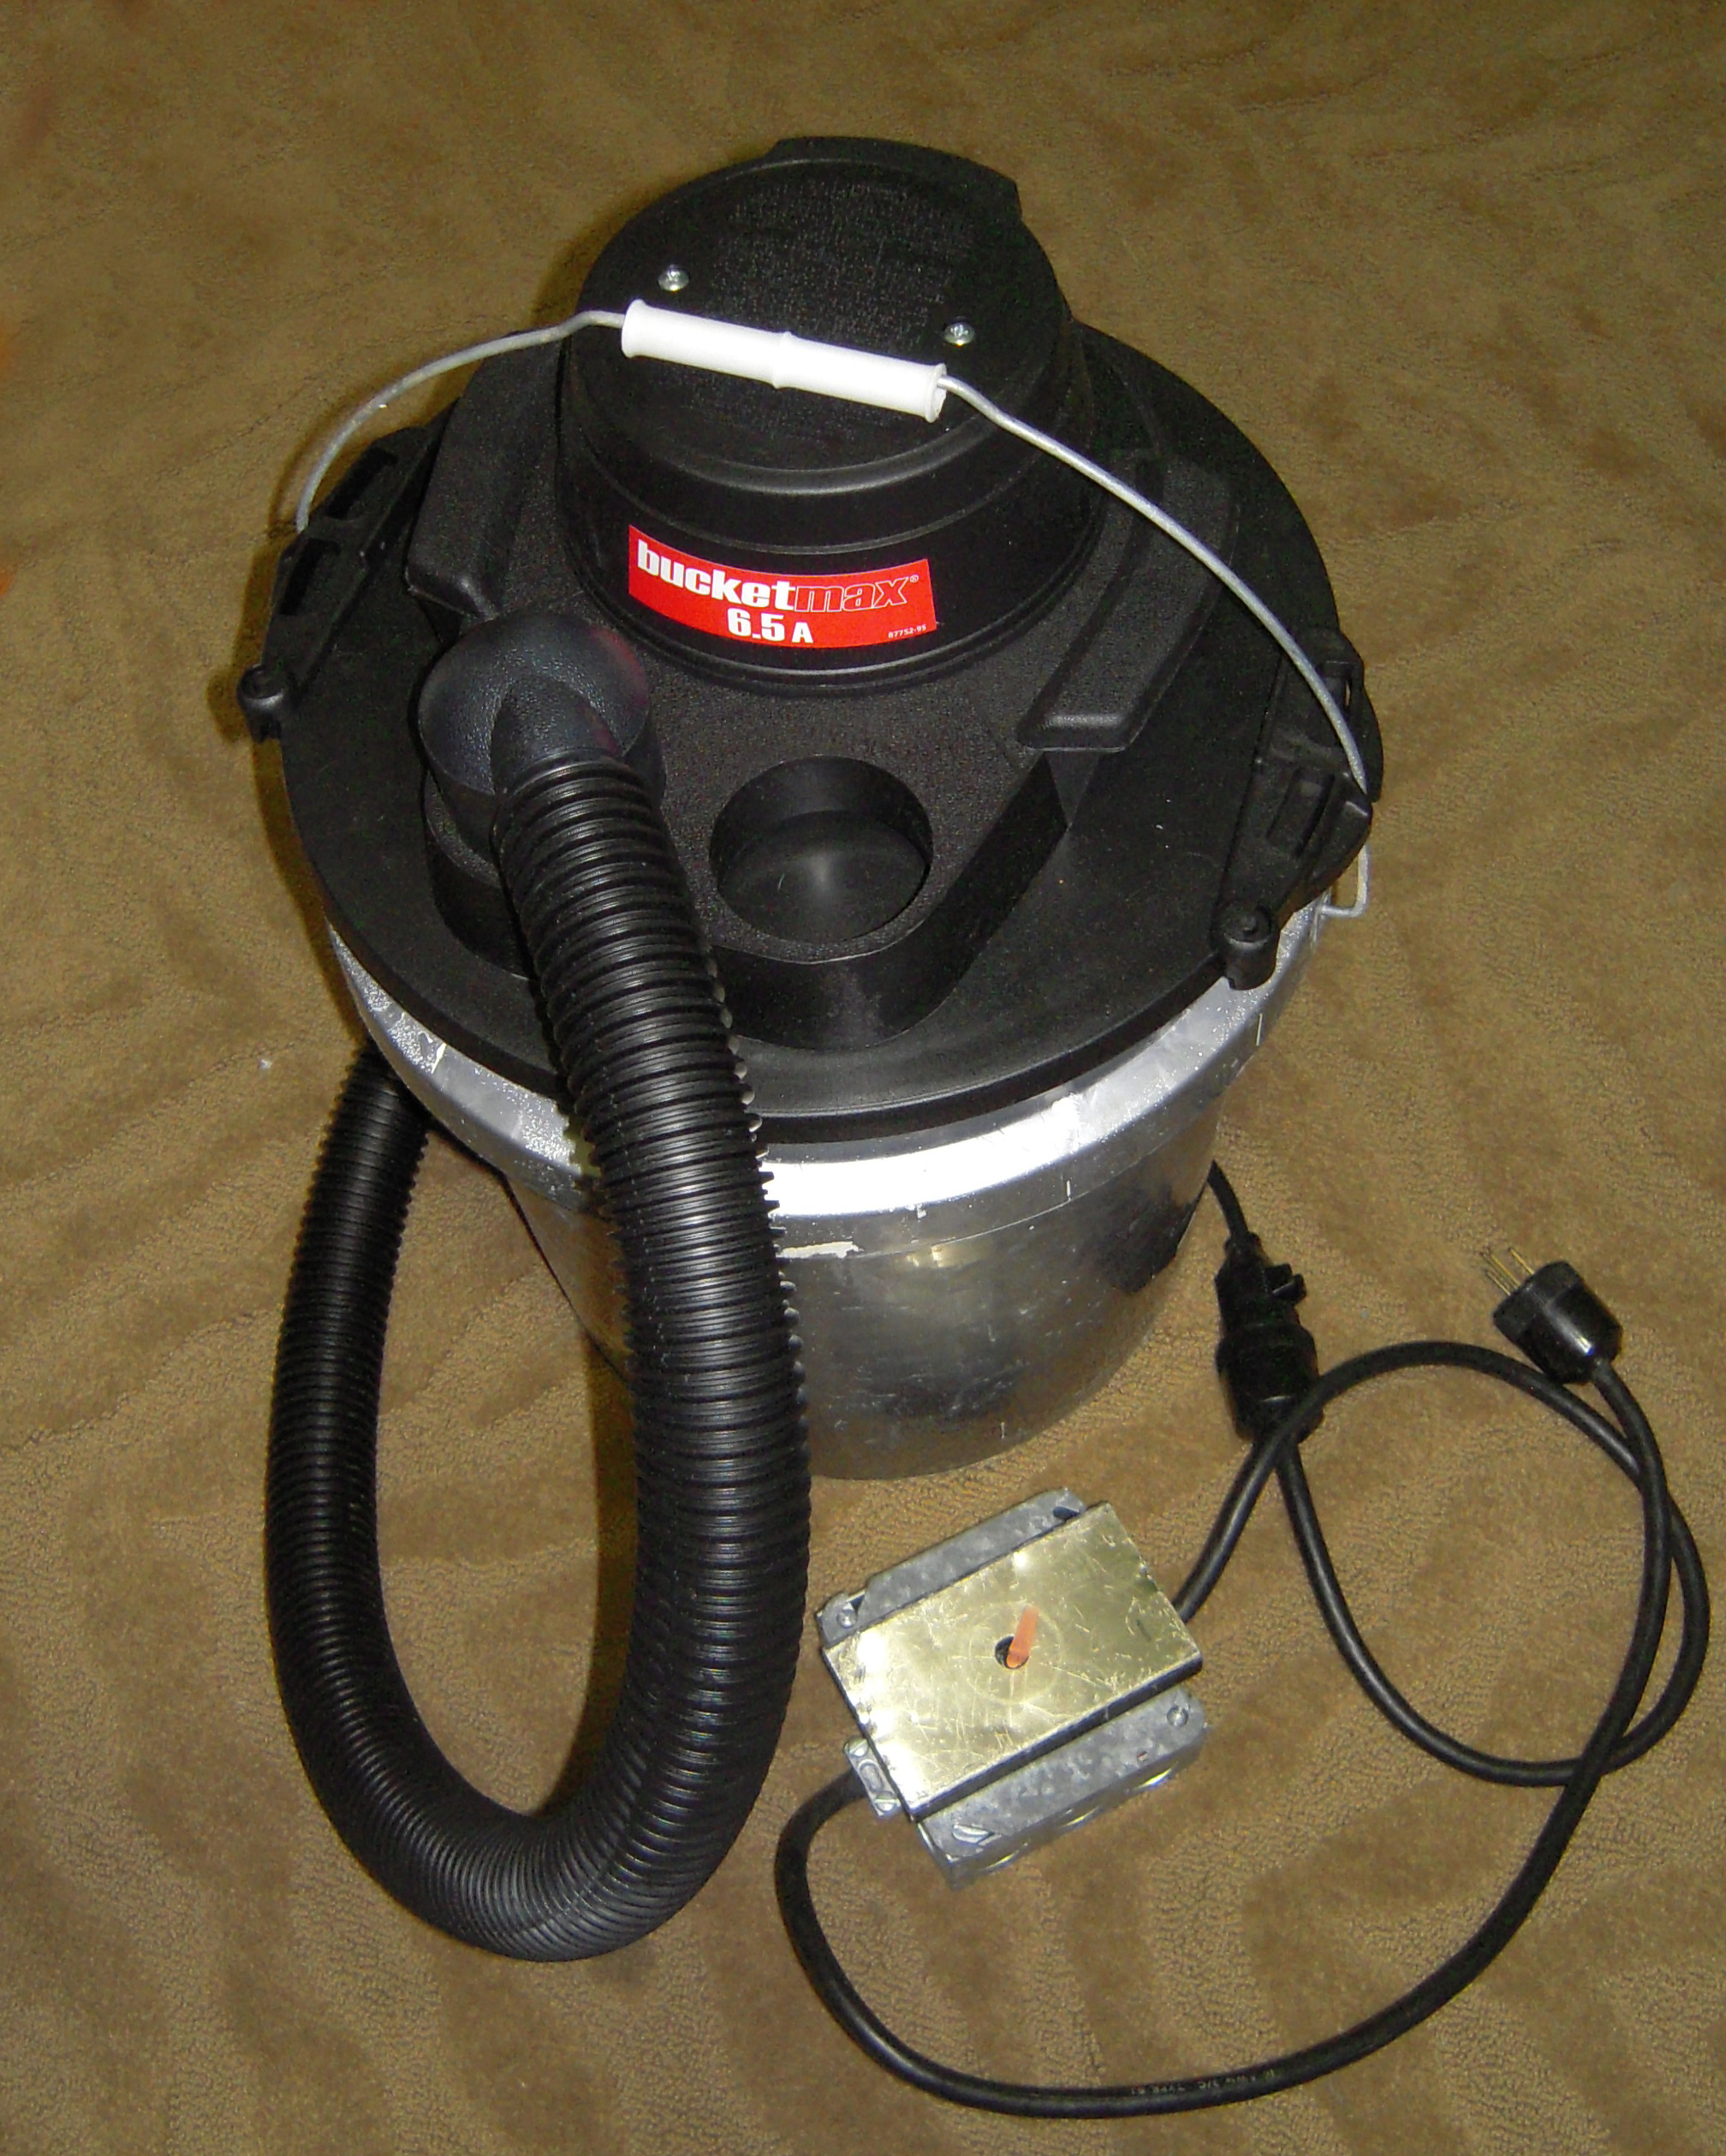
Once the wall was opened up, I fired up the bee vacuum I had made from and started clearing some of the bees from the hive to give myself a little room to work. I grabbed my bread knife and started to cut away the comb. All of the sections of comb with capped honey were placed in a 5 gallon bucket with a lid. I used my brush to get as many bees off the comb before putting it in the bucket.
Bee Removal Is MESSY
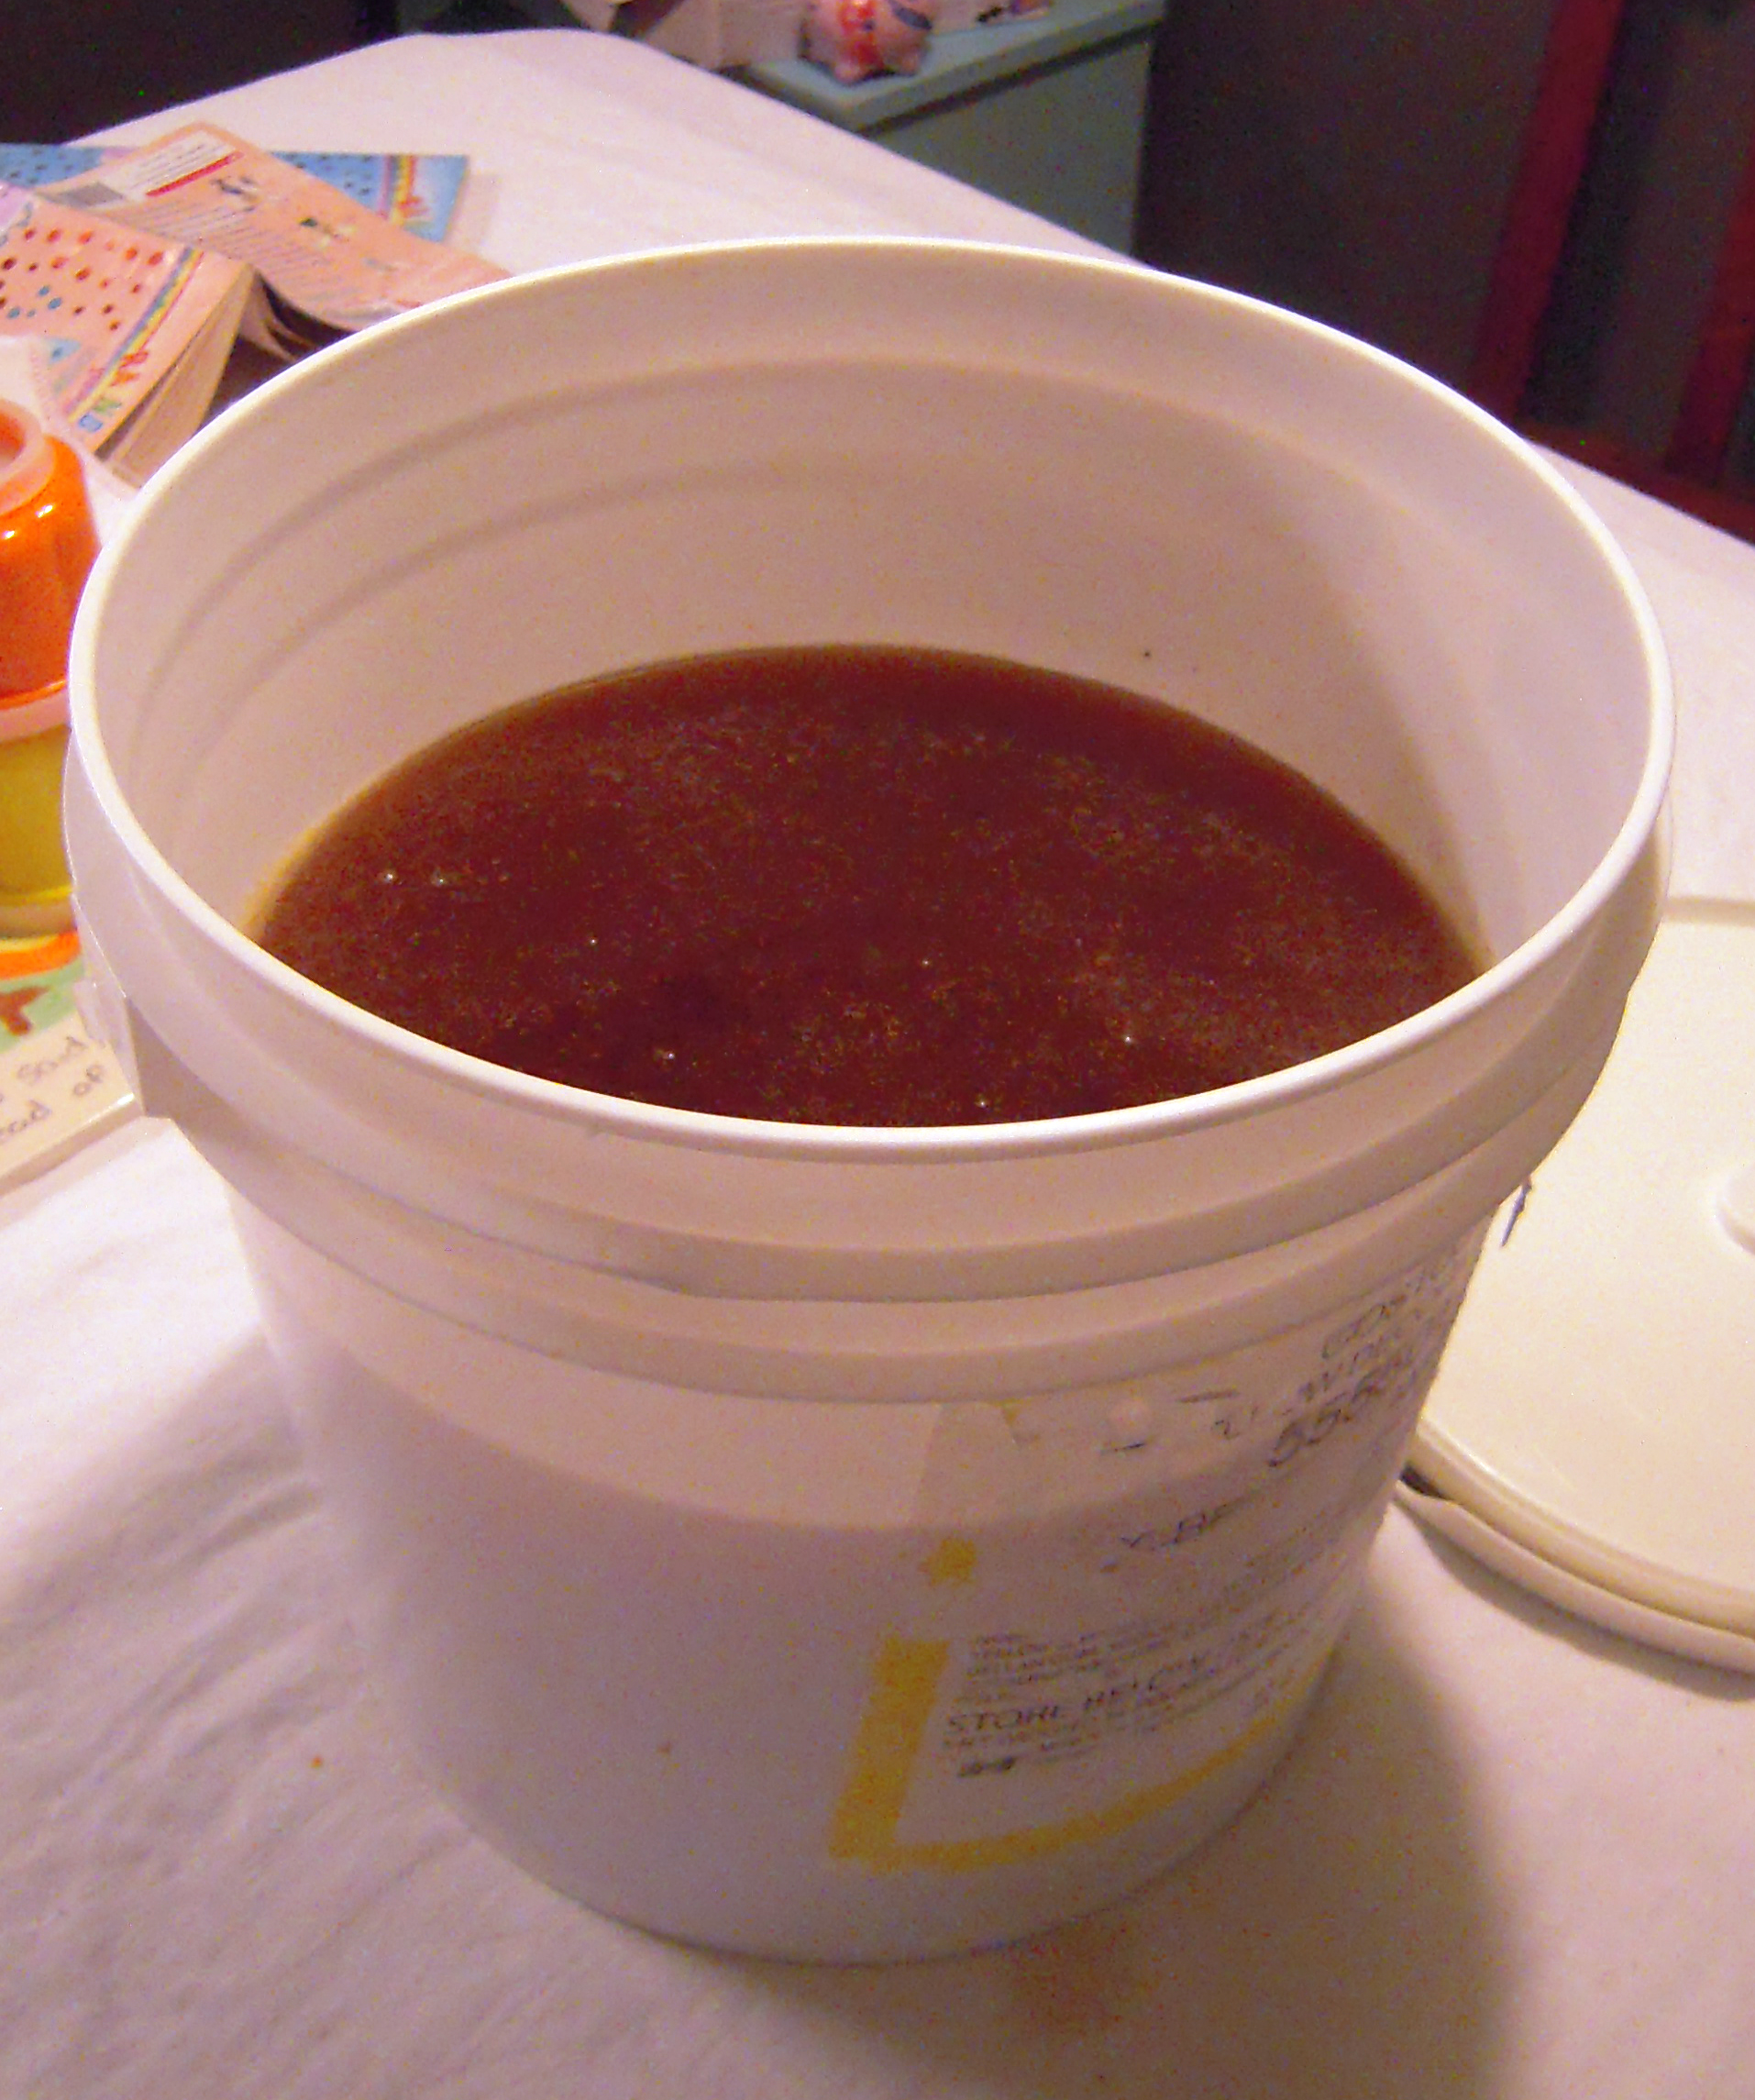 I’m very glad I wore gloves. Once I started cutting into the comb, there was nectar everywhere. Uncapped honey in the sun on a hot day runs like water – very sticky water! I tried to lift out the comb in big chunks, but this hive was big and I had to cut it out in pieces and every cut seemed to unleash a fresh torrent of honey.
The messiness wasn’t a major problem, but the bee vacuum ended up being pretty sticky in spite of my stopping a number times to wash off my gloves.
Securing the Brood Comb
The plan to secure chunks of brood comb to my top bars with zip ties and hair clips worked like a charm. I was able to transfer a significant amount of brood to the new hive. The process isn’t quite as elegant as rubber banding comb into a Langstroth frame, but it still went smoothly.
Any chunks of comb that didn’t contain capped honey or fit into the temporary hive were dumped into a bucket for disposal. I ended up with 2 5-gallon buckets crammed with discarded comb.
Finding the Queen
 From all my research I came to the conclusion that the queen would keep moving further back into the hive until IÂ got close to the last section of brood comb. So, I didn’t worry about her as I alternated between vacuuming up bees and cutting out comb. Then, with only a little comb left in the wall, I slowed down and started hunting.
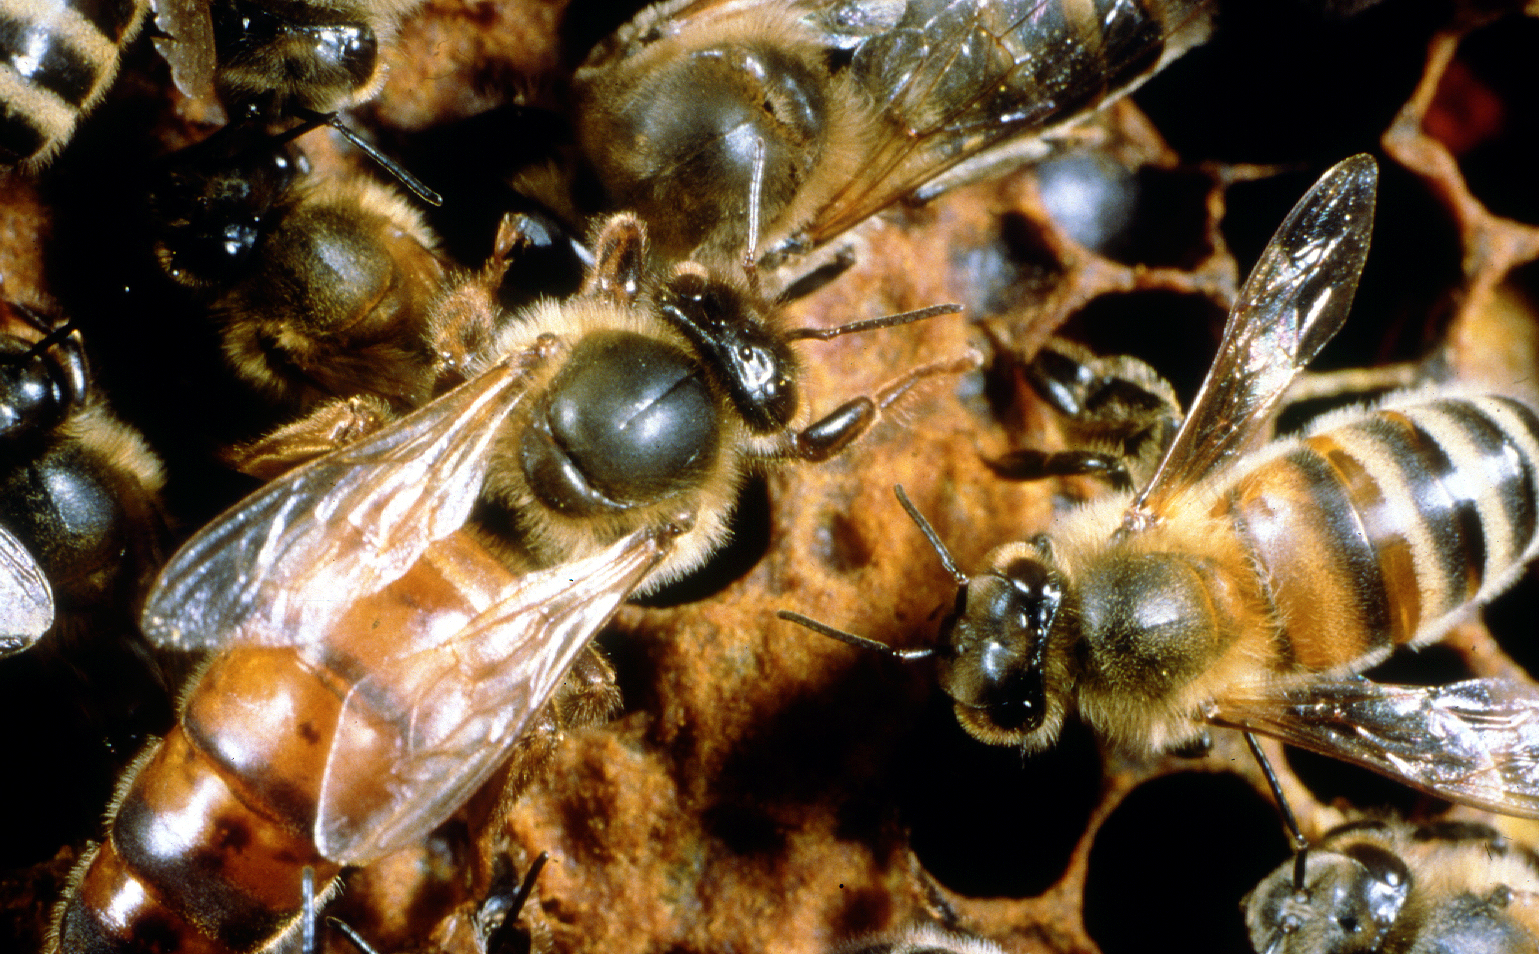
Now, I had never actually seen a real queen bee before in my life. So, I wasn’t sure if I would be able to find her. There were a good number of drones in the hive and, at first, I got excited when I saw one moving among the smaller worker bees. They are much bigger than the workers. But, their eyes are huge and there were bunches of them, so it didn’t take long to learn to recognize them.
When I finally found the queen, it was pretty easy to distinguish her from the workers. I grabbed my queen cage clip, snatched her up, and placed her in the temporary hive.
My Big Mistake
 Once I had the queen, I happily finished up the removal of the comb and started breaking down my gear to take home. I had prepared 2 5-gallon buckets to use with the bee vacuum. The plan was to vacuum up a good chunk of bees, then pull the vacuum head off the bucket and place a lid on it with big air holes cut in it. I did that with the first bucket and set it in the shade while I vacuumed bees into the second bucket. When I started cleaning up, I swapped the vented lid onto the second bucket and also put it in the shade.
Once I had cleaned up most of the gear, IÂ went to check on the bees in the vented buckets. To my horror, I discovered that there was not enough ventilation and the bees had overheated and died. There was nothing inside but a soggy mat of dead bees on the bottom of each bucket. I needed a LOT more ventilation in those buckets – or, I should have transferred the bees to a large cardboard box for transportation. I’ve made notes for improving my vacuum for the next time I do this.
While I finished packing up, I left the temporary hive open on the ground for a while so that foraging bees would be able to find the queen and settle inside before I closed it up for transport. There were lots of workers on the brood comb as I moved it to the temporary hive. My hope was that their numbers would be strong enough to recover from the losses due to my vacuum mistake.
Moving Into the New Hive
 When I got back home it was getting late and a thunder storm was moving in. I decided to move the bees into the new hive in my back yard. I pulled the bars of brood comb out of the temporary hive and placed them into the top bar hive. The interior dimensions of my permanent and temporary hive are not a perfect match, so I had to trim off some of the brood comb to get everything to fit properly. The process went quickly and I had most of the bees in their new home by the time the rain came.
By morning the bees were orienting themselves to their new home and cleaning and repairing the damage done to the brood comb in the transition.
Here is a little video I shot through the observation window on the side of the hive…
Summer 2015
Within a few days, the workers started bringing pollen into the hive and the queen started laying eggs. But, the colony never recovered from the loss of the bees killed in the vacuum buckets. I don’t know how old the queen was, but she just didn’t seem able to make up for the losses.
I also discovered that there were hive beetles in the colony. I spent the summer trying to beat back the beetles, and I’m sure they further stressed the colony.
The bees survived well into the winter. But, we had a week of extremely warm weather just before Christmas, and some weeds in the area actually blossomed. I saw bees returning to the hive with pollen – they were acting like spring had arrived. Then, we got a week of really cold weather around New Years. The next warm day I inspected the hive and discovered that all the bees were dead. There was larva, capped brood, and emerging bees on the comb along with lots of nurse bees spread out over them. They all froze. And, there weren’t enough bees left to keep the queen warm, so they froze too.
What’s Next
It’s spring again, Â and I’ve got my bait hive hanging in a tree hoping to catch a swarm. I just put out an ad offering to do free swarm removal in my area with the hopes of capturing a replacement colony. My first contact was from a woman who said she has bees in the wall of her house. I’m waiting to see photos before I decide whether to try my hand at bee removal again.
Wish me luck!