Podcast and Video Recording Room
 |
In the fall of 2020 the ministers of the church where I was working were looking for new ideas to connect with church members and replace the usual weekly bible studies that were shut down due to the pandemic. We decided to start a new weekly podcast featuring the senior pastor and the associate pastor called “Table Talk.”
Until the start of the pandemic, the only podcast that the church produced was a repackaging of the Sunday sermon audio. This new project required us to setup a recording space with microphones, headphones, a mixer, and a digital recorder. This recording setup was cobbled together from existing resources. We had to setup and break down all the gear in a mixed-use space every time we recorded an episode. Then, I would have to edit together all of the audio before uploading the finished program for publication.
This initial podcasting process was very inefficient and it took between 2 and 3 hours per episode to produce – not counting the actual recording time and the content preparation. We quickly started looking for a better solution and I was tasked with creating a podcast studio.
Preparing The Podcast Studio Room
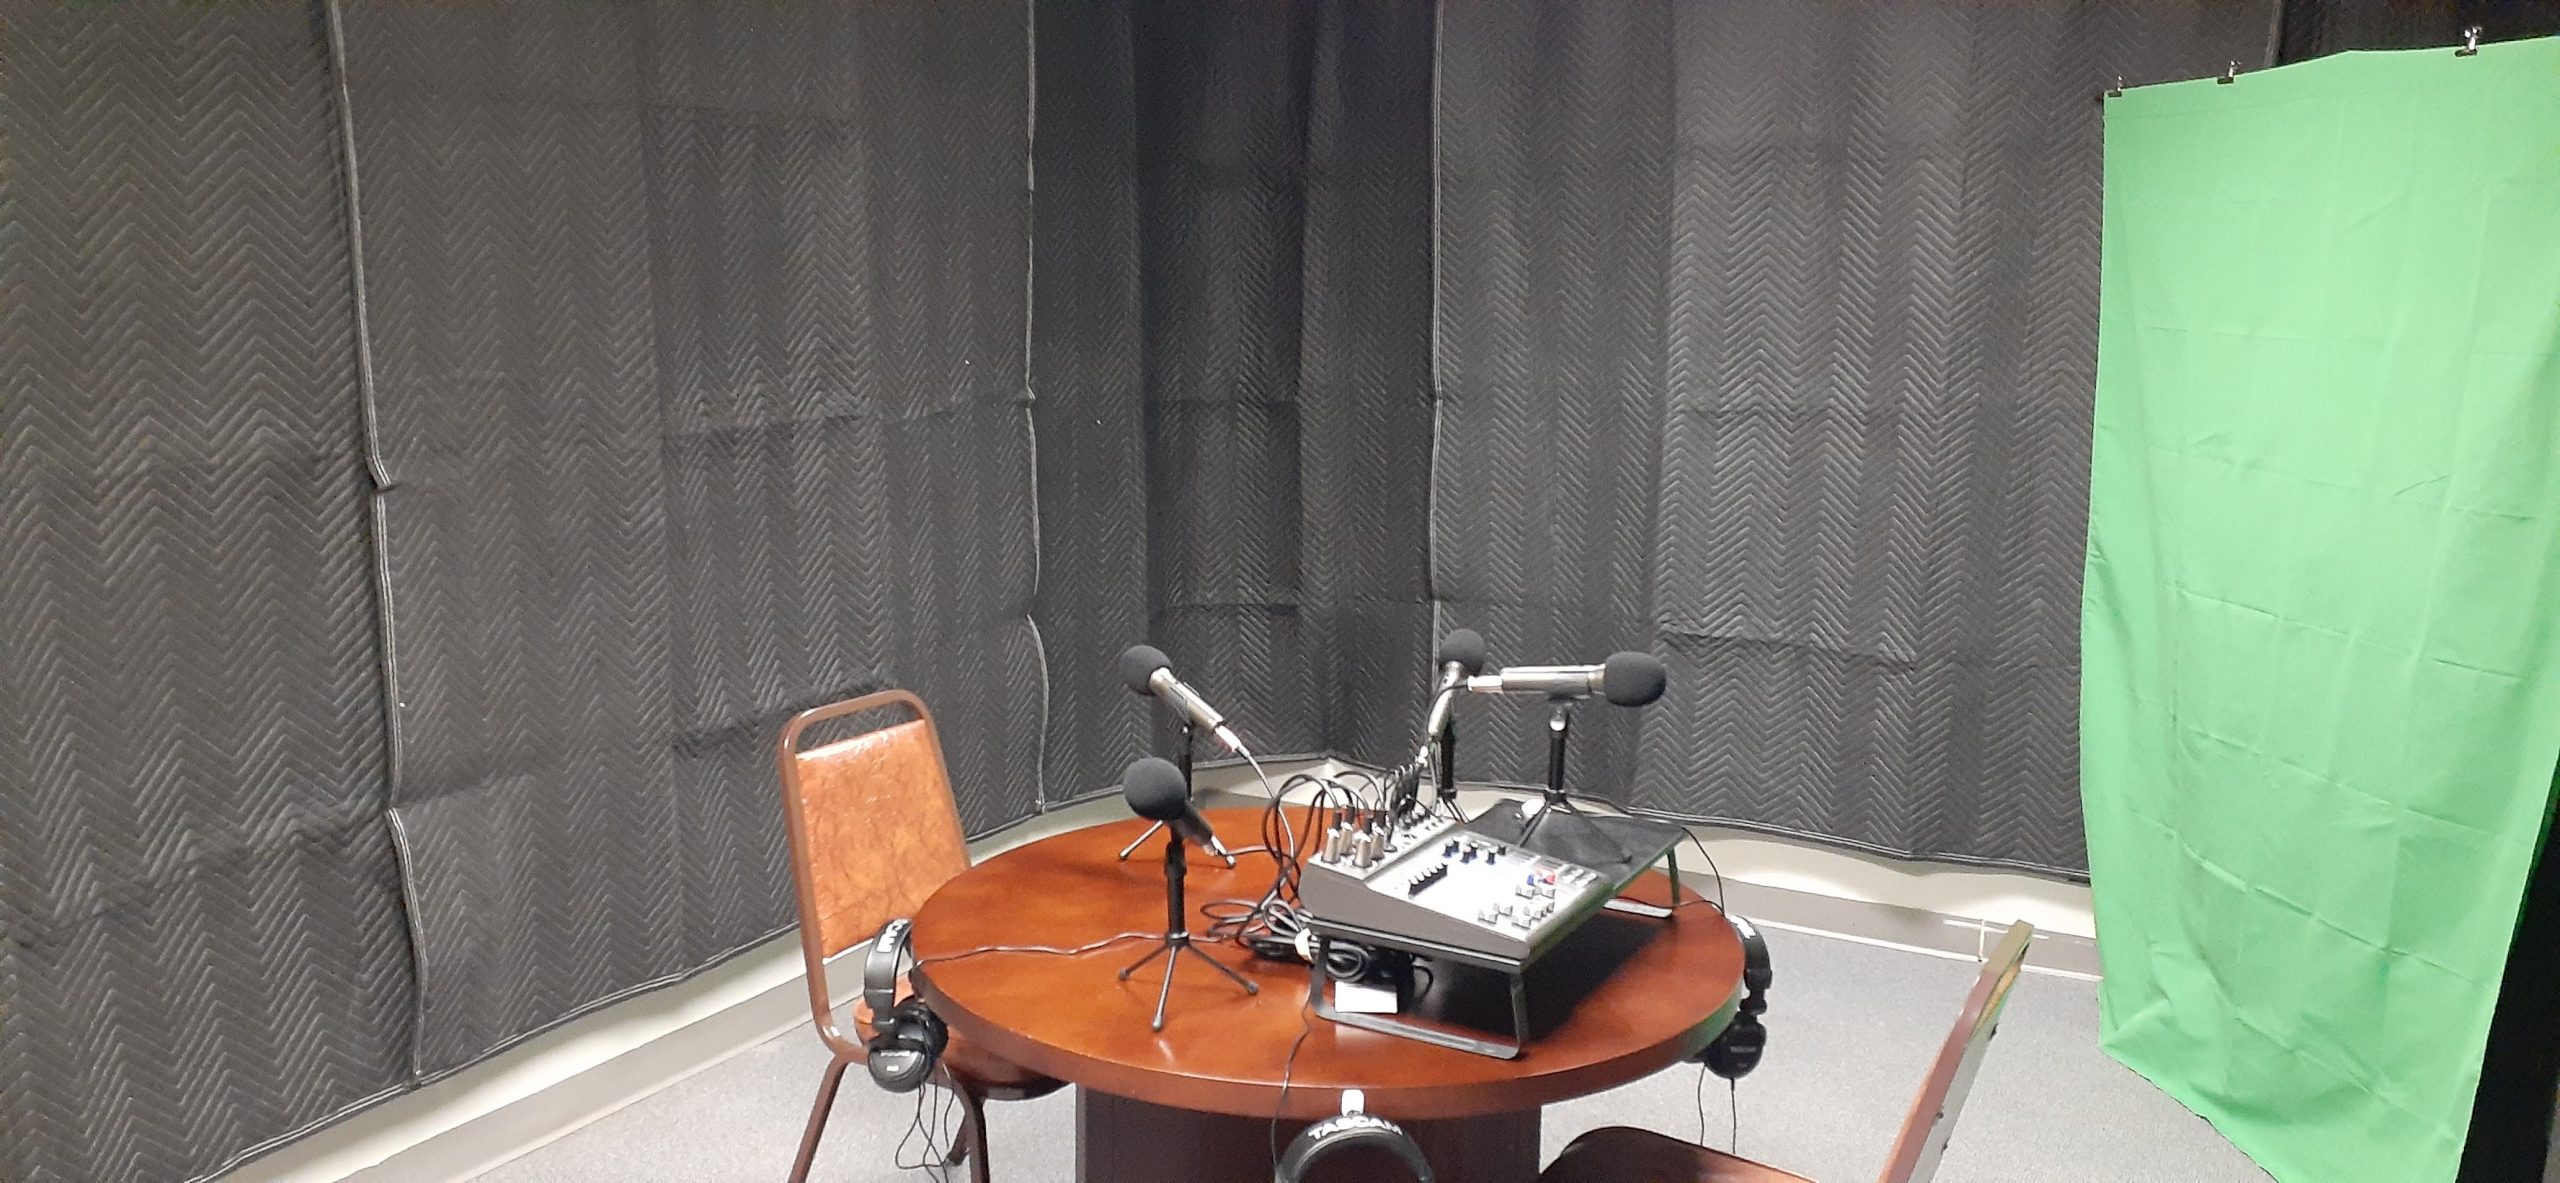
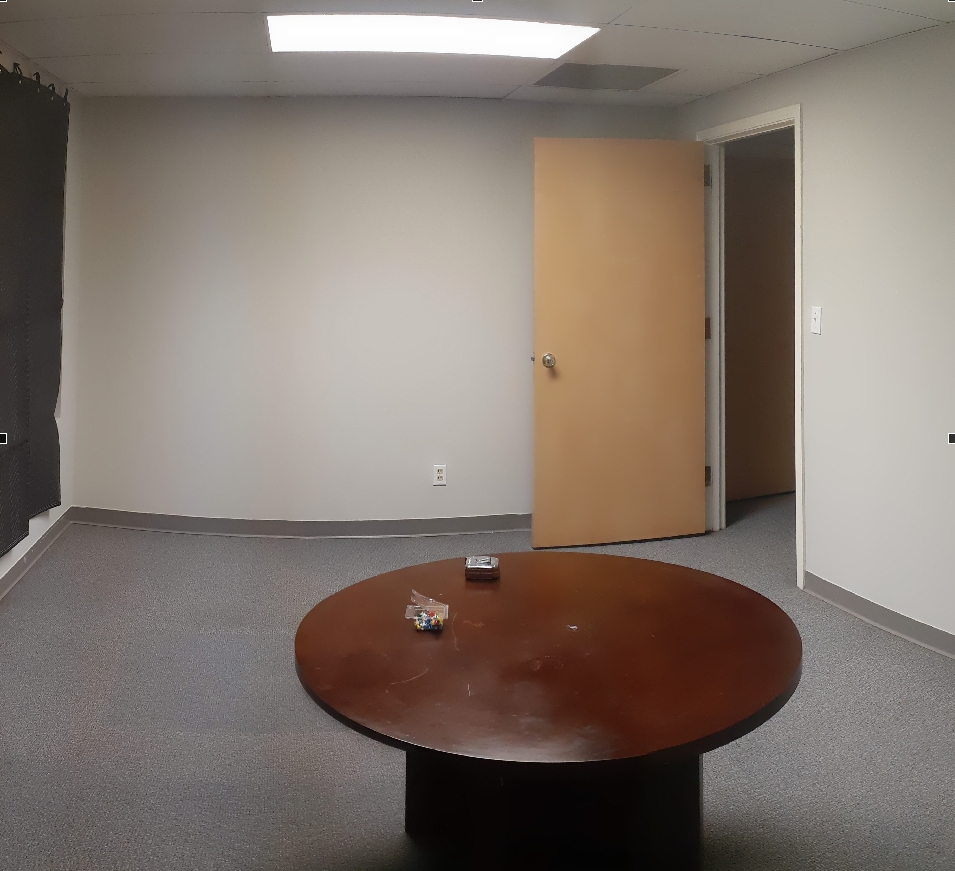
Creating a podcast studio space made sense. A huge bottleneck in the weekly production process was just setting up and breaking down equipment. So, we identified an unused room that was somewhat isolated and quiet. The main challenge with the room was that the plain plaster and drywall surfaces produced a lot of echoes. So, step one was to kill the reverb.
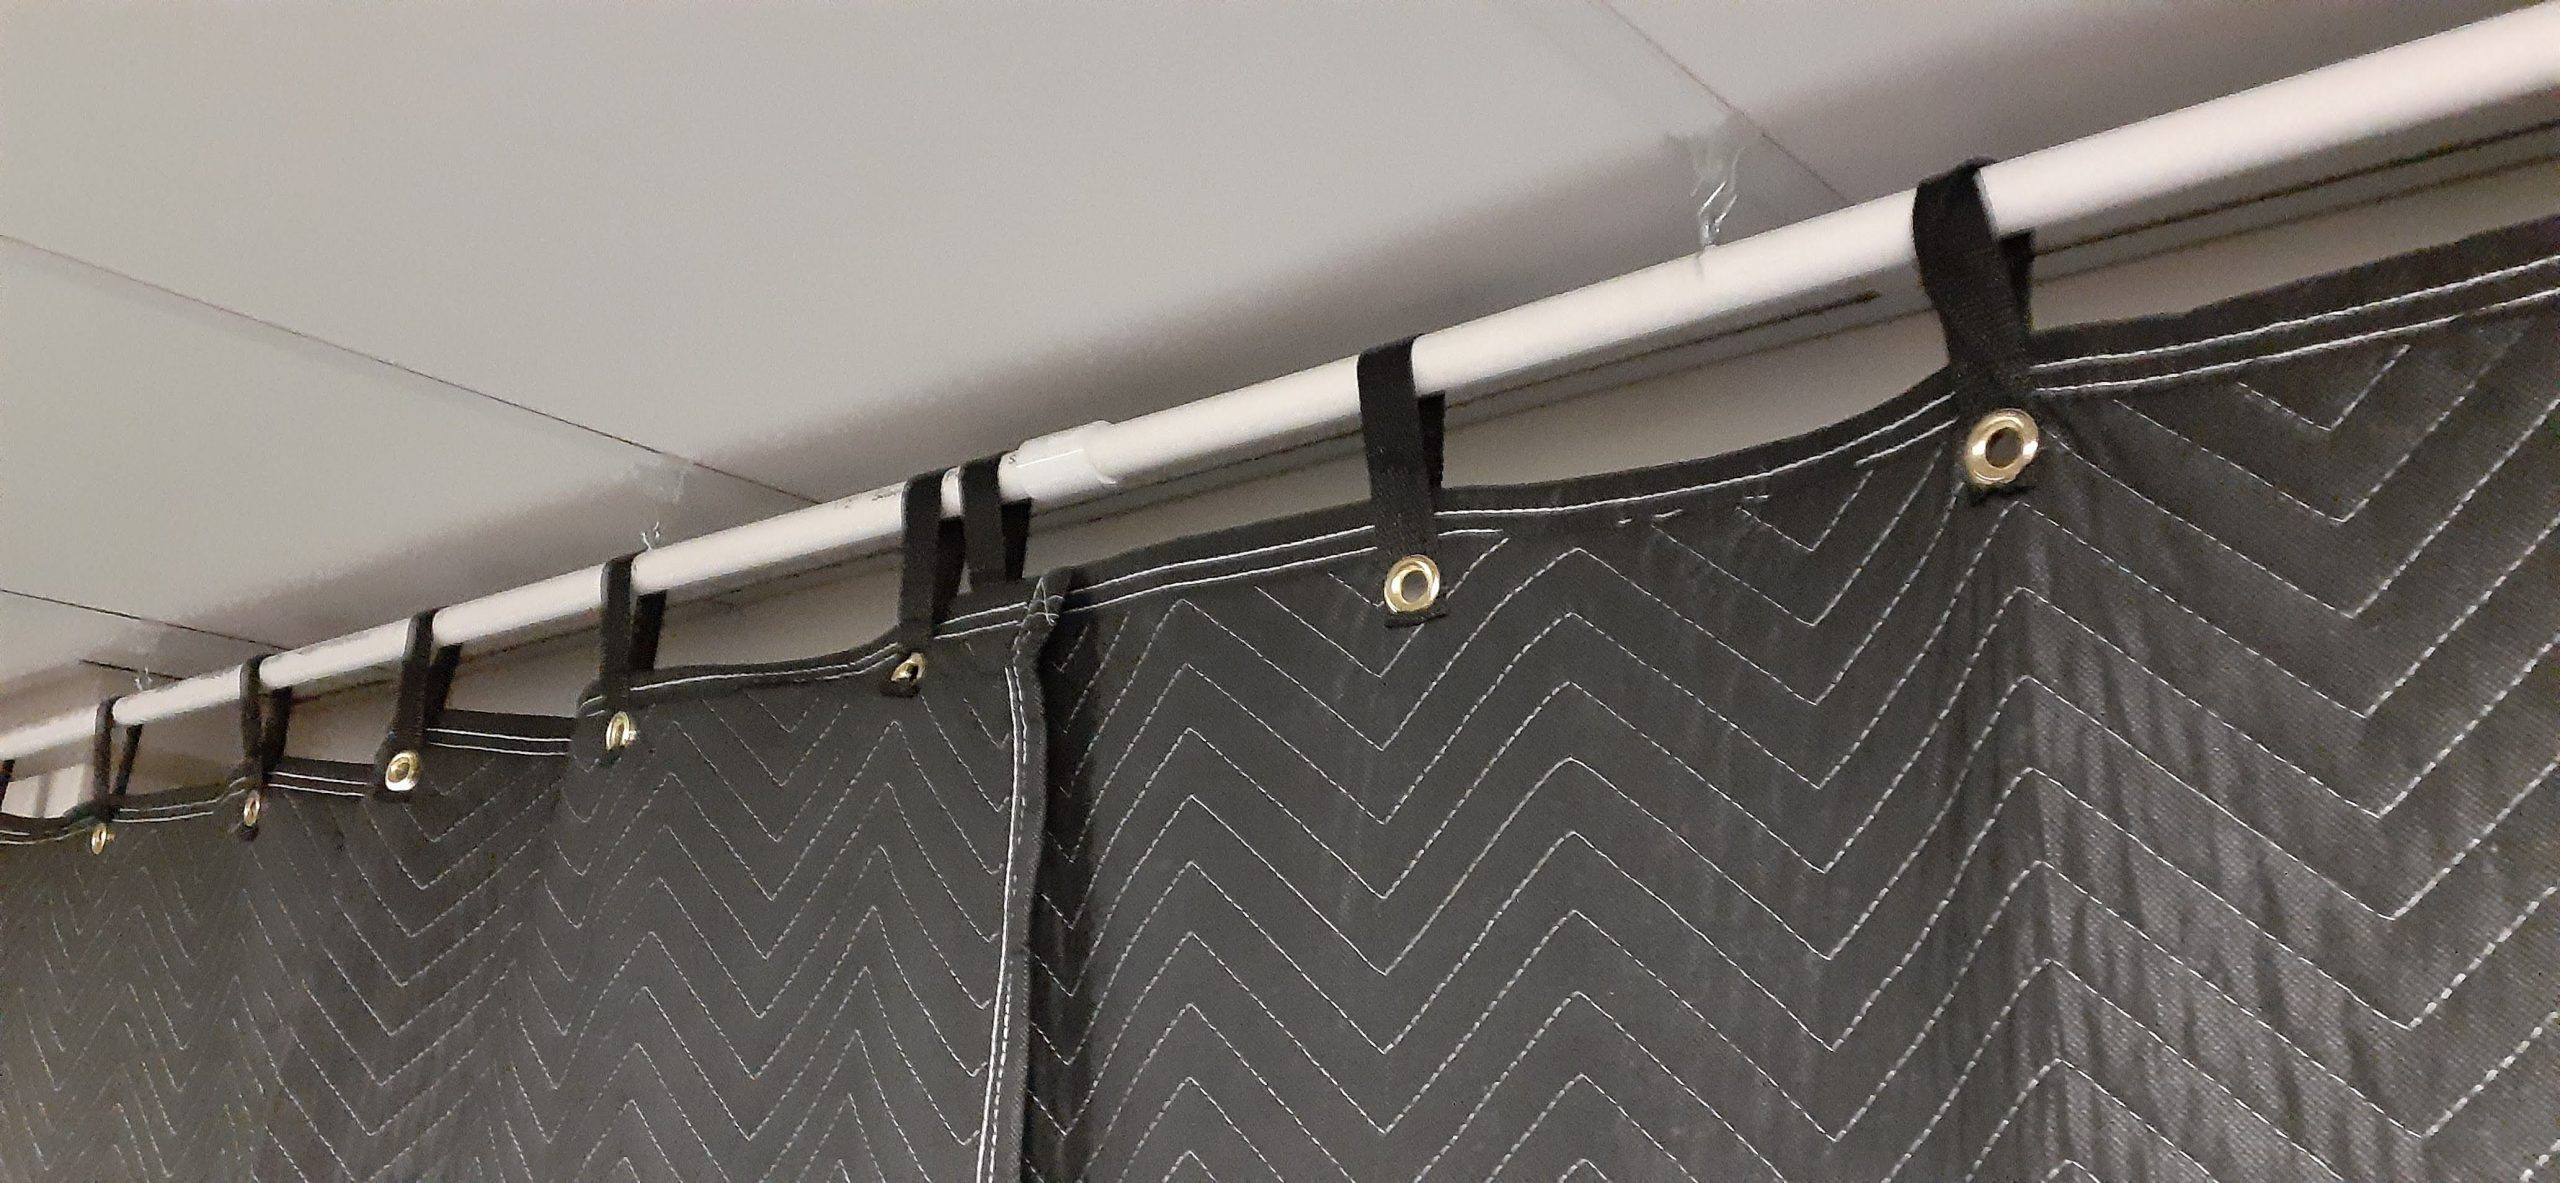
My primary sound treatment solution was to hang sound blankets all the way around the room to absorb mid and high frequency echoes. I created a rail from PVC pipe that hung from the ceiling and went all the way around the room. The blankets were then hung from the rail which created a small air gap between the blanket and the wall. There was one window in the room that we filled with rockwool insulation before hanging a blanket over it.
Luckily, the available room had thick masonry walls on 3 sides and the 4th wall connected to a storage room. This meant we didn’t have problems with unwanted noise coming through the walls. So, once the blankets were up, the room sounded great.
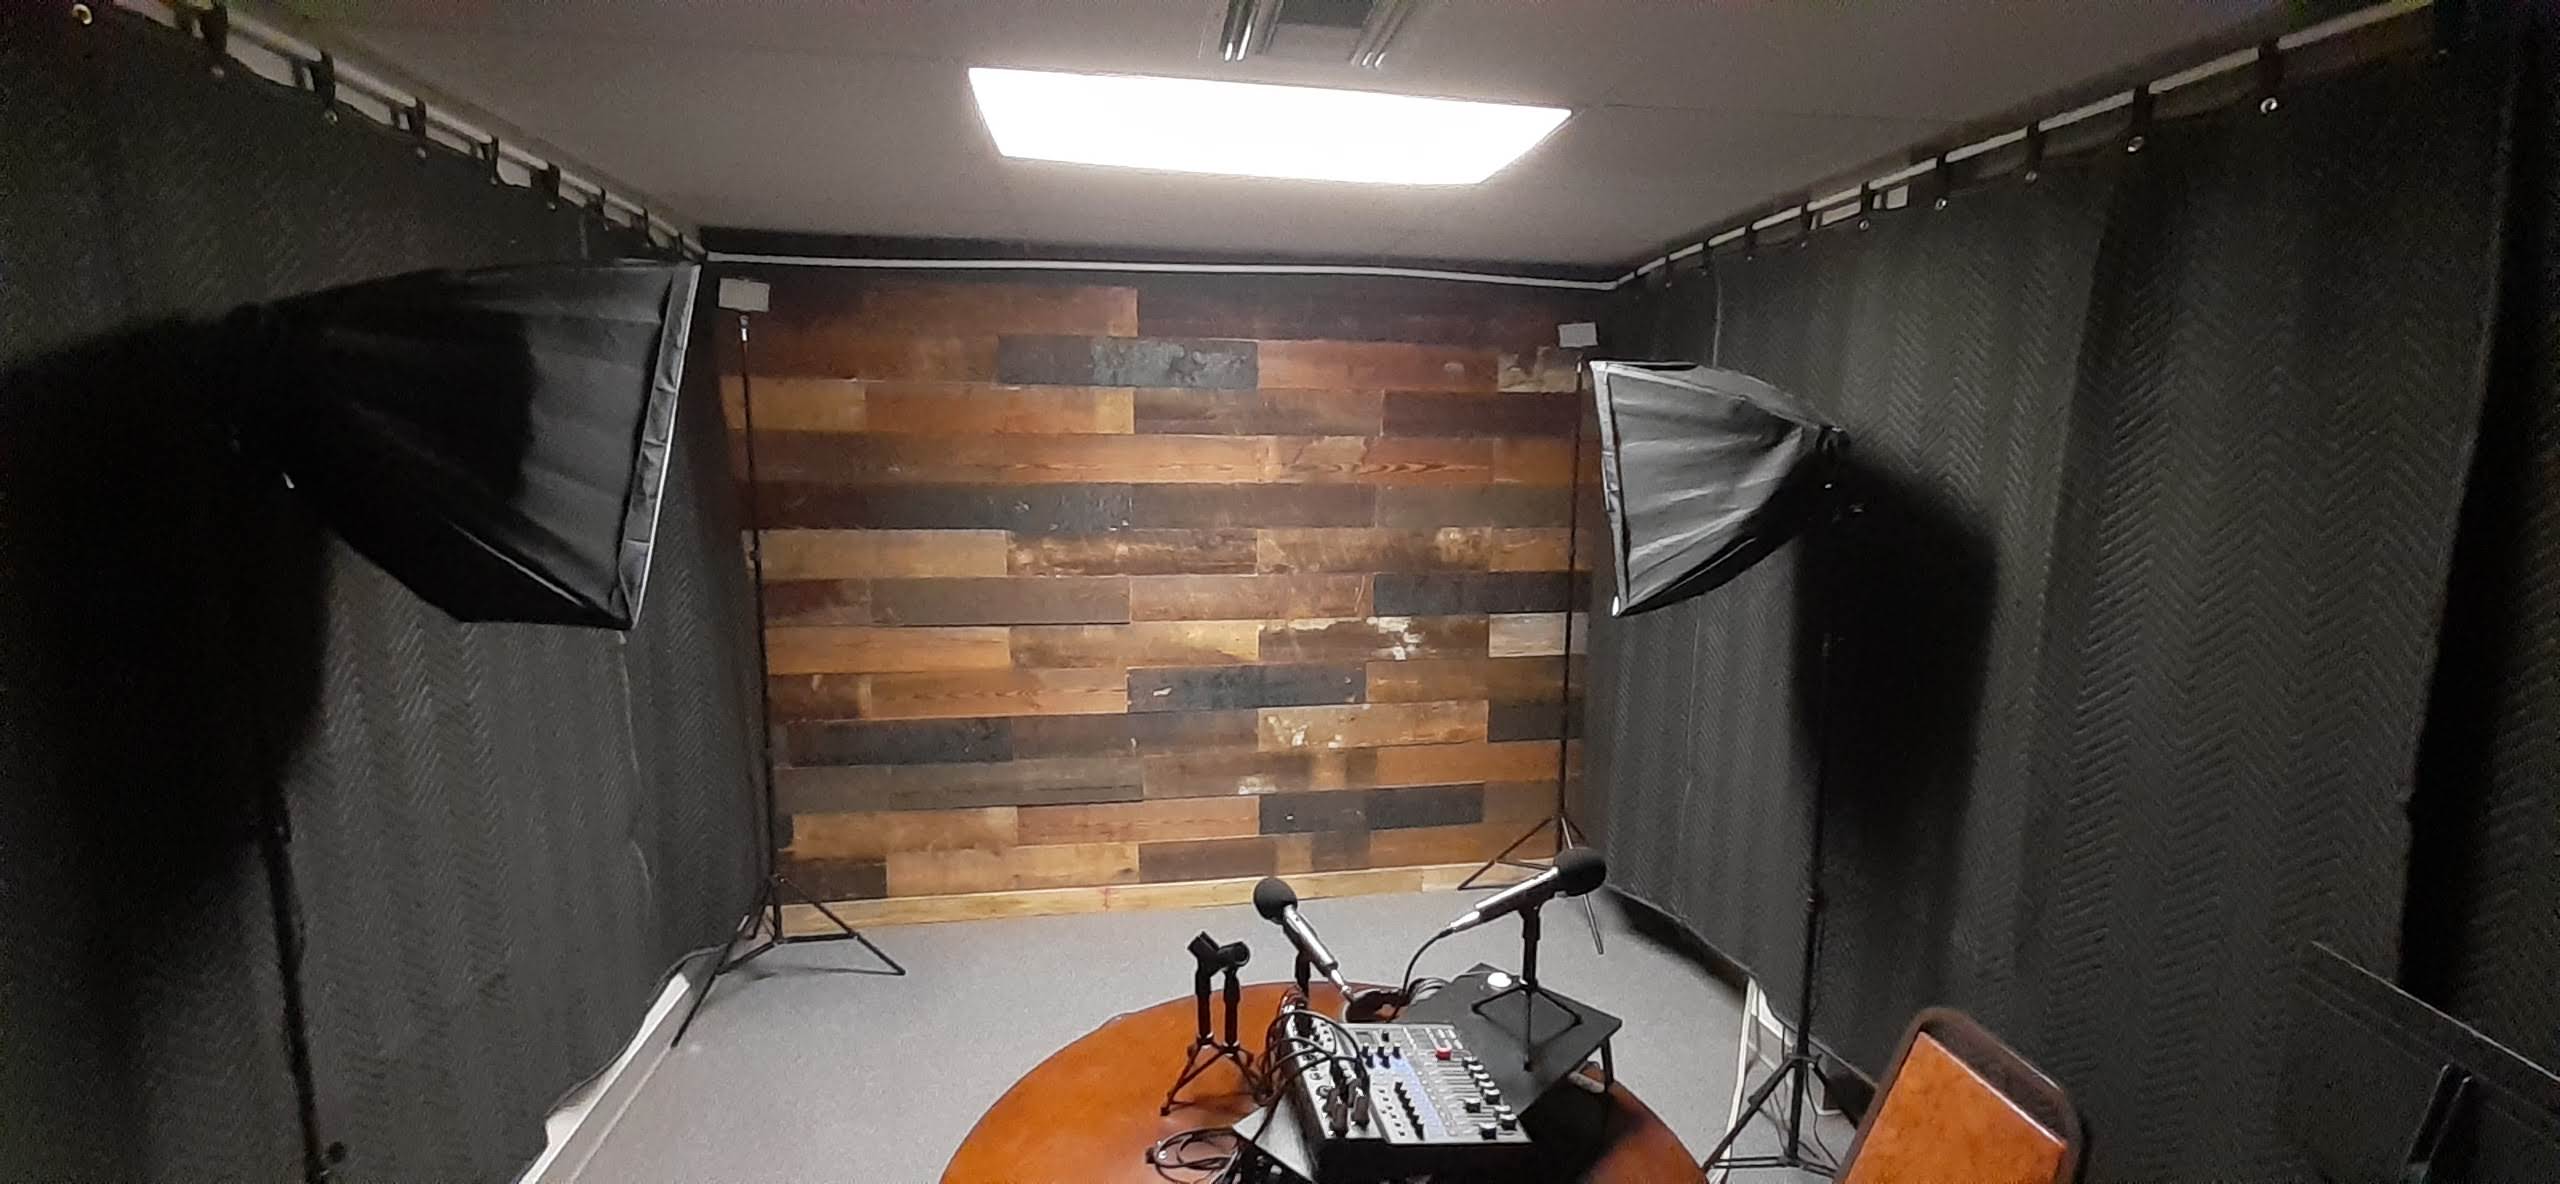
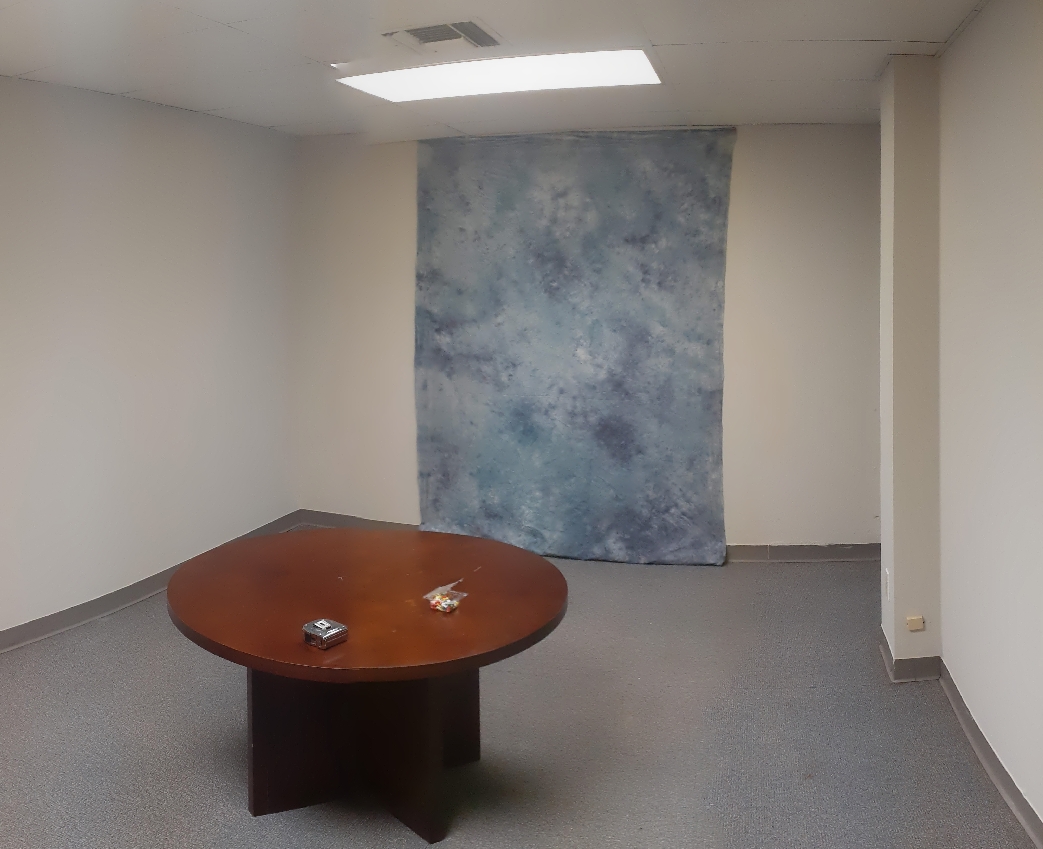
We later decided to add the ability to record video in the room, so I removed the blankets from one wall and covered it some reclaimed wood planks to create a video backdrop.

Podcasting Equipment
Choosing the right equipment was critical to the success of this project. My requirements were that we needed the ability to record 4 people at once and the recorder had to be able to record a mixed show track and isolated tracks for each speaker at the same time. We also needed the ability to playback pre-recorded elements like intro music and promos. Our budget was not unlimited and we needed the equipment to be flexible enough to use in other ways if we decided that podcasting was not our most important goal.
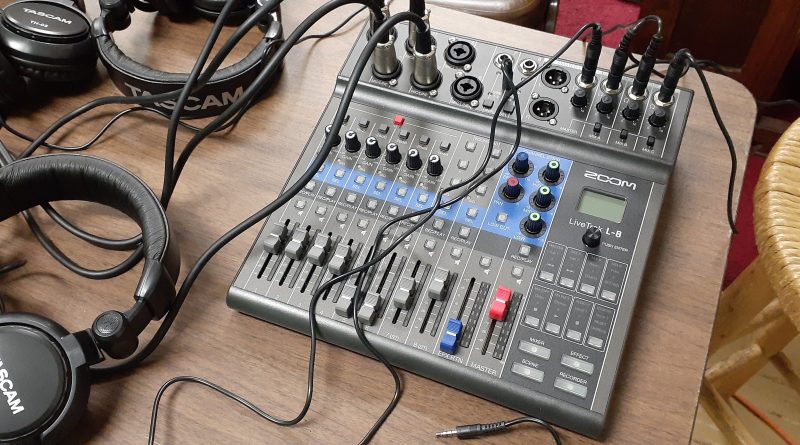
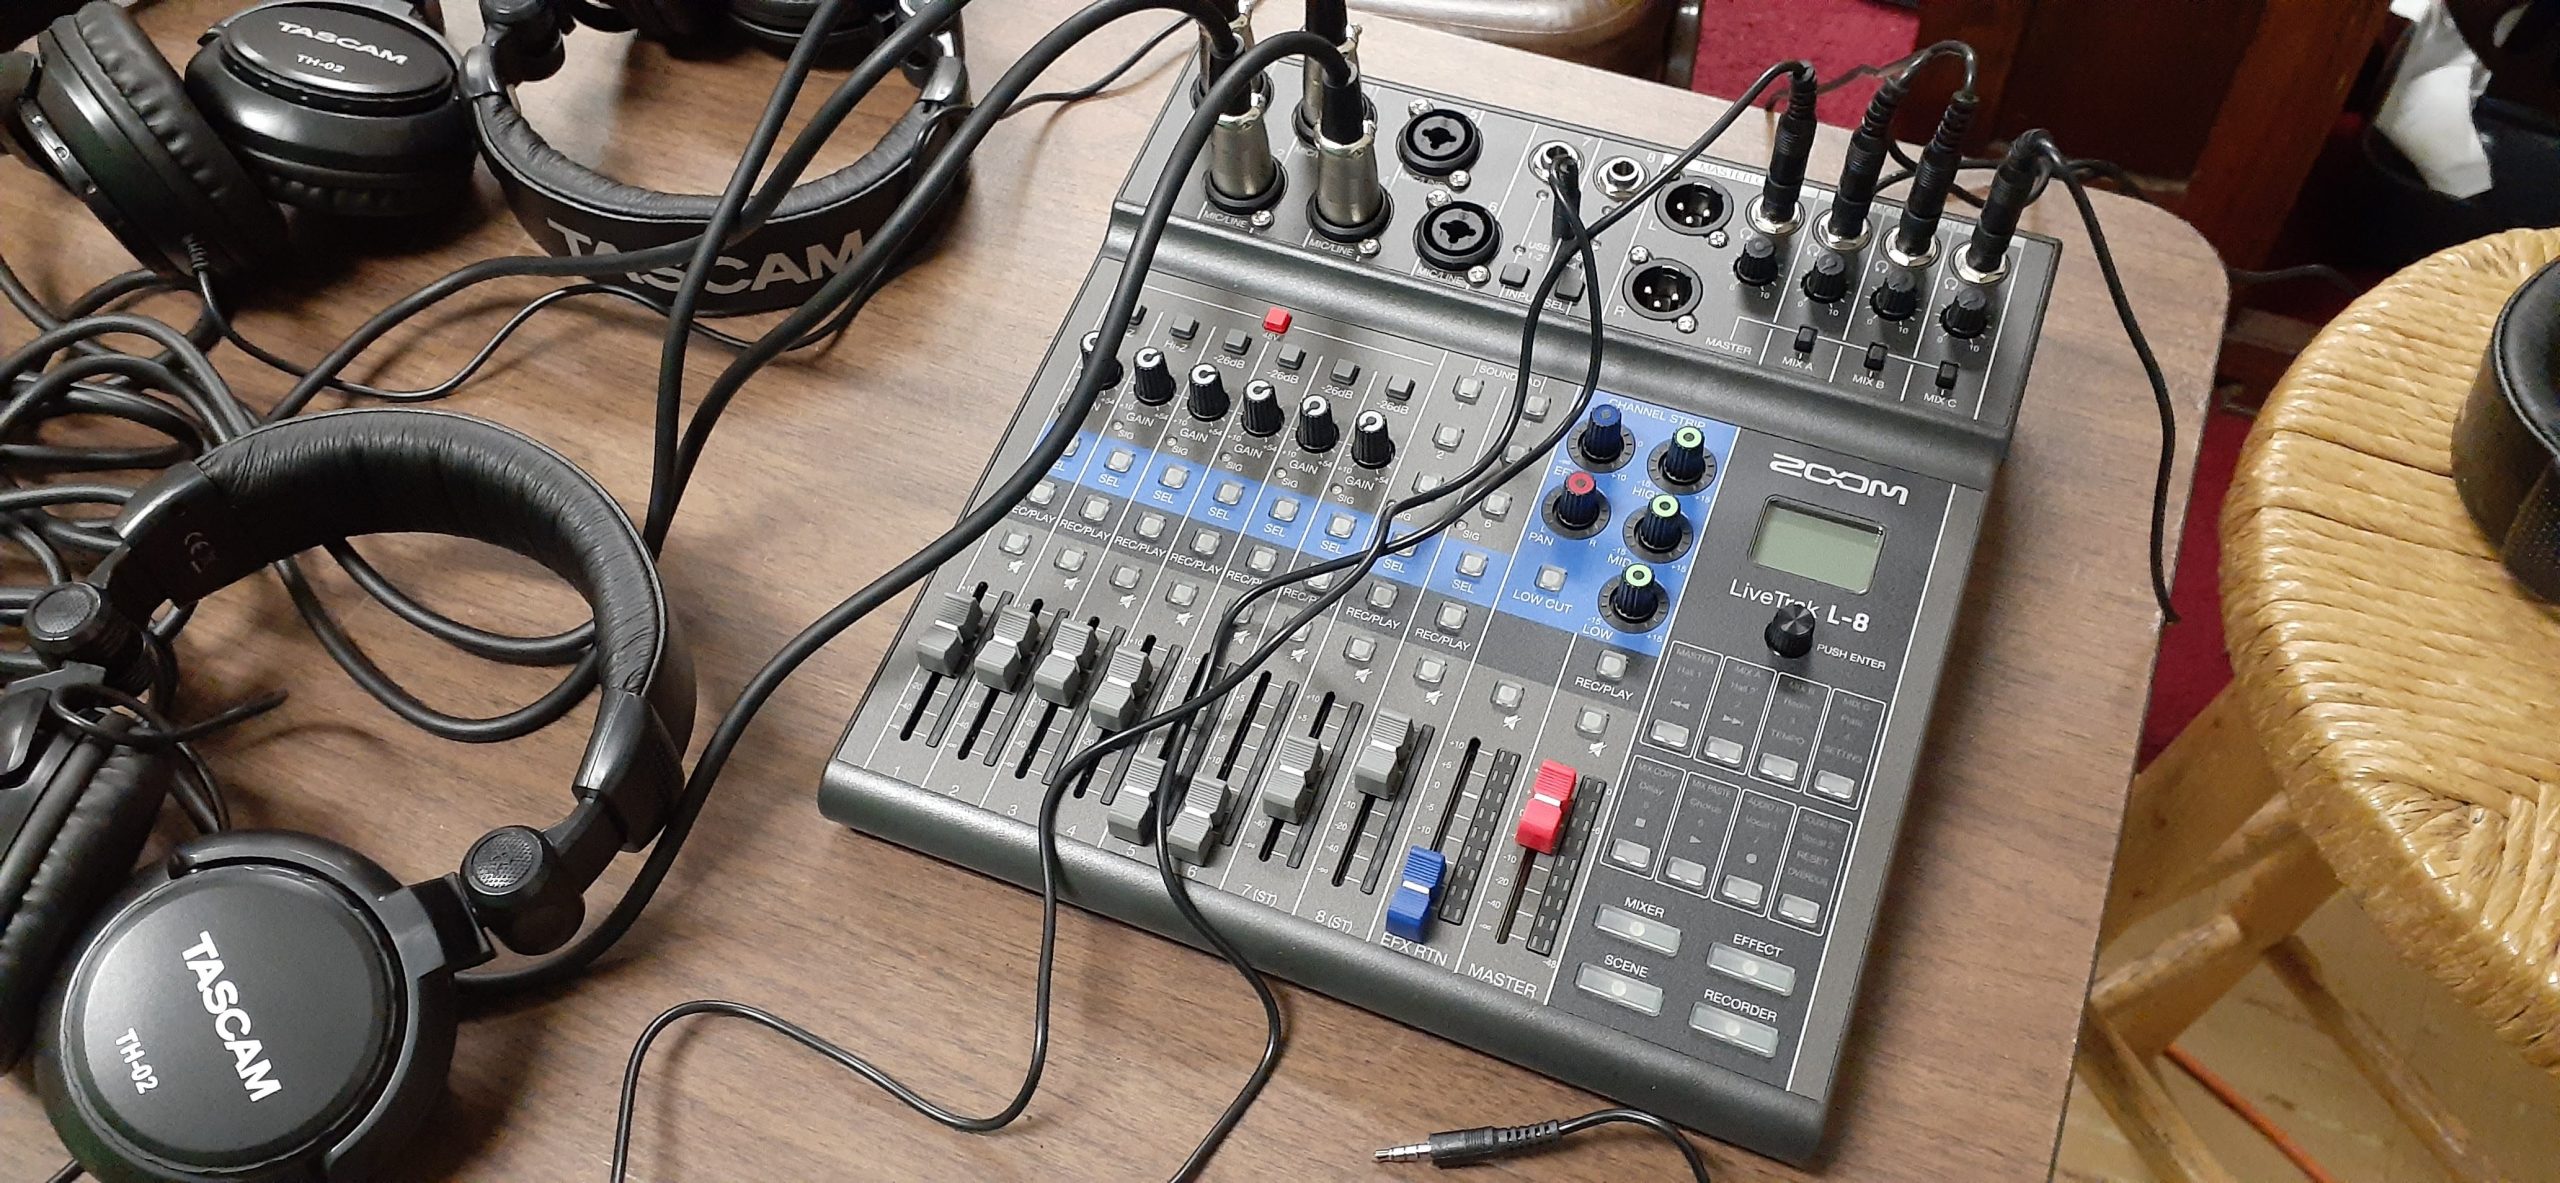
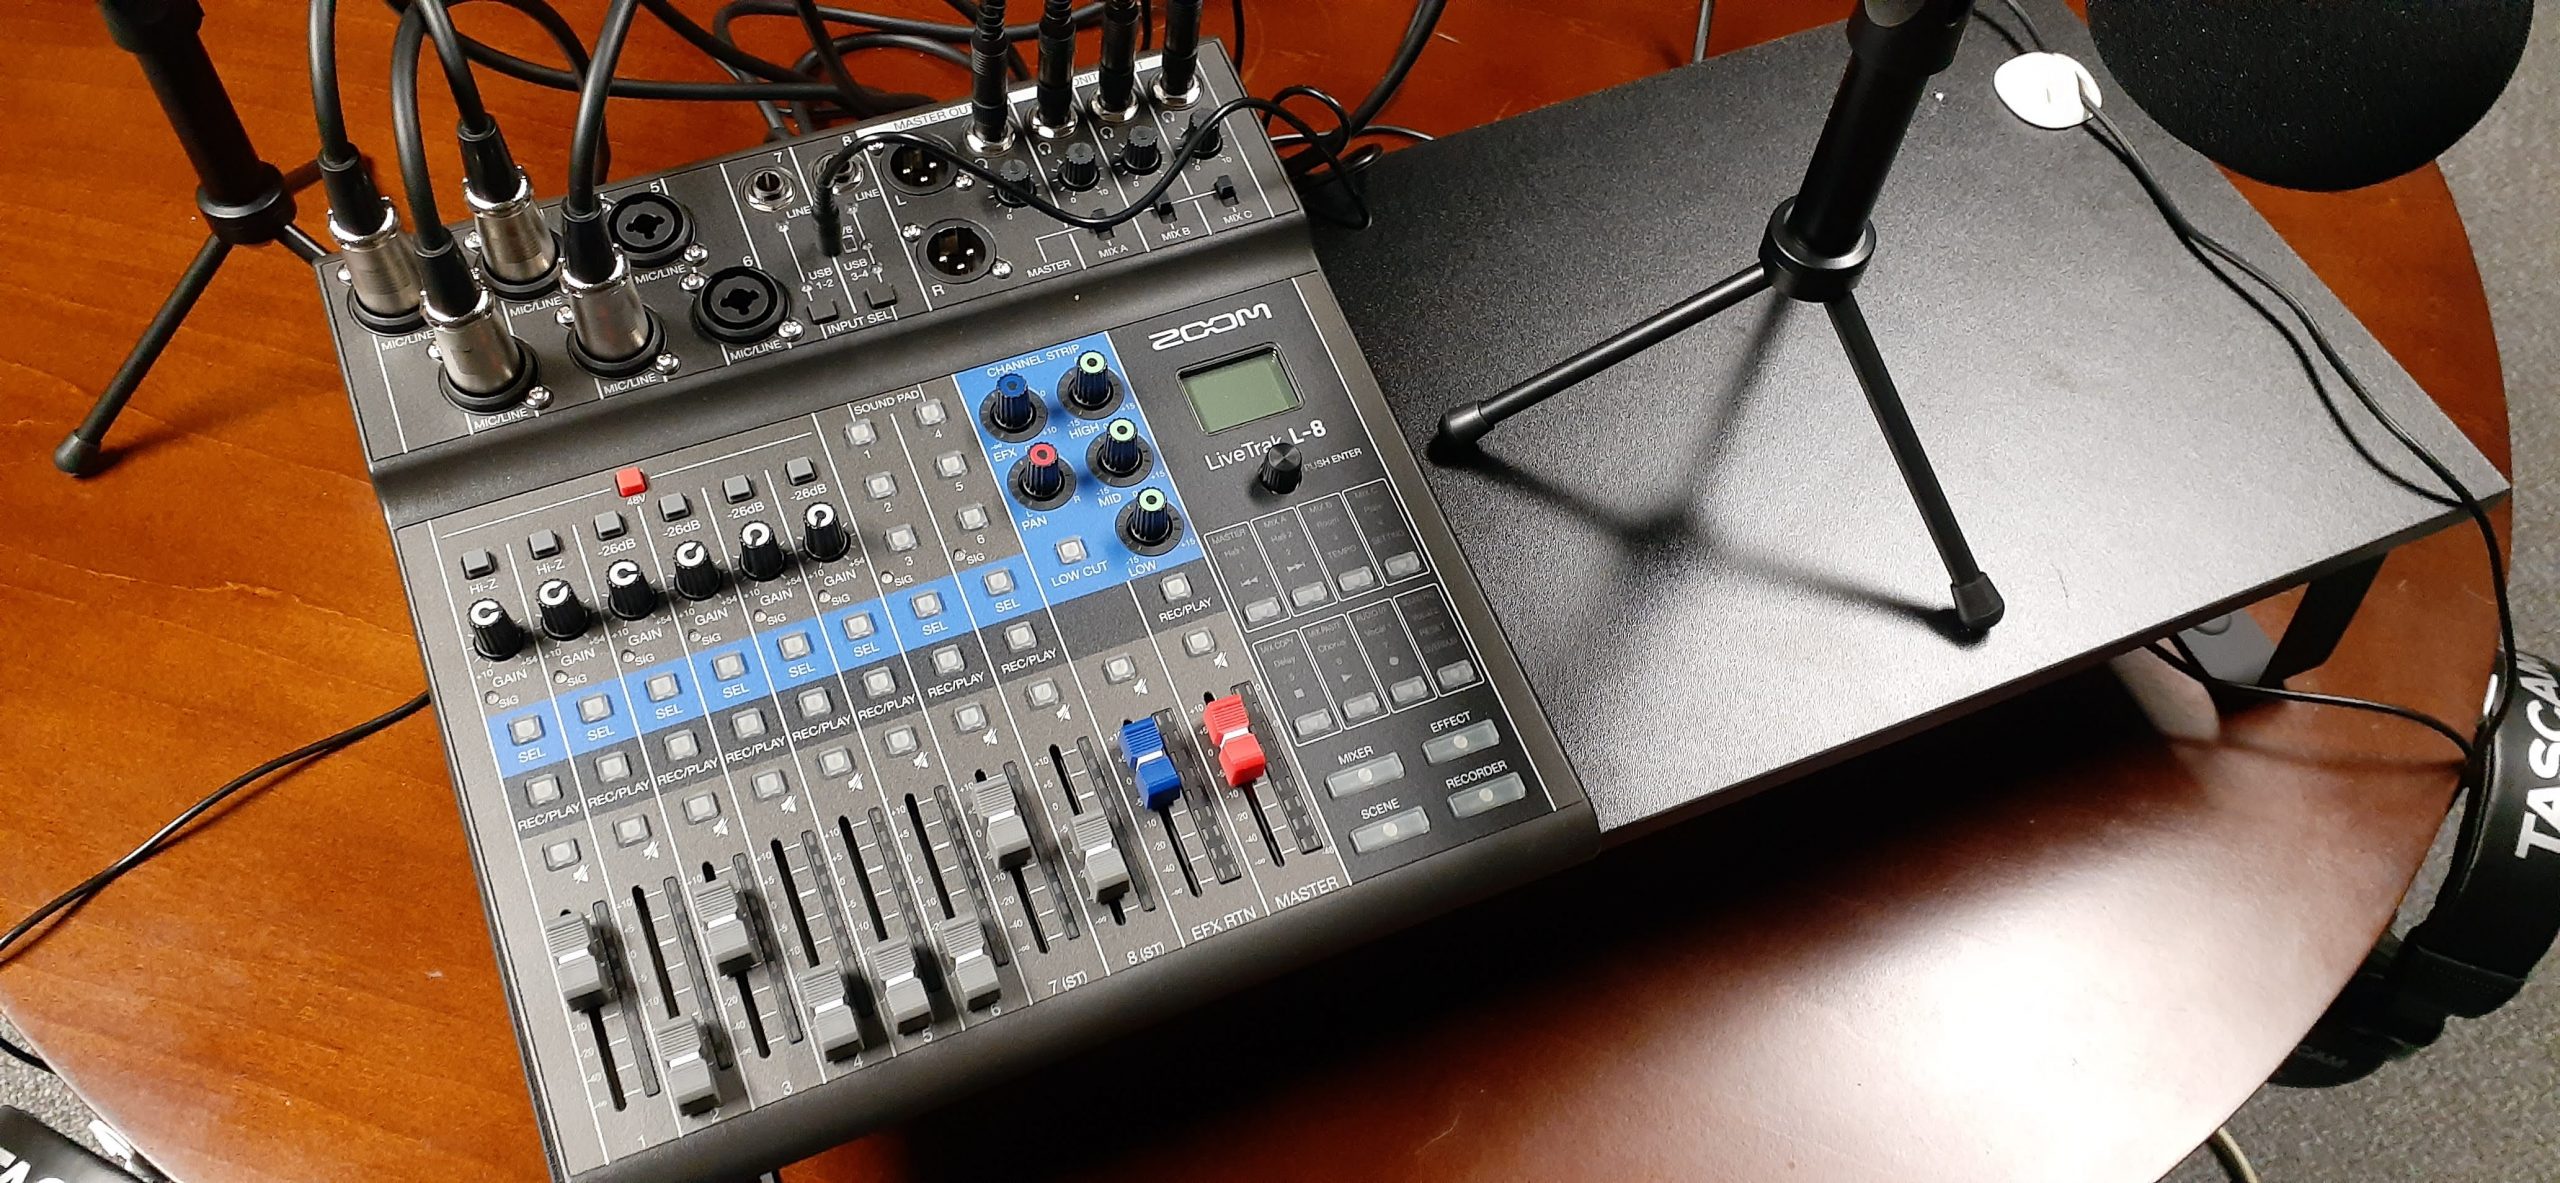
I chose the Zoom LiveTrak L-8 podcast mixer/recorder as the foundation of our setup. It has 6 microphone inputs, 4 headphone outputs, 6 sound pads for pre-recorded elements, the ability to patch in phone calls, multi-channel recording to an SD card, and digital effects and EQ. Another great feature is that you can run the recorder off a set of batteries for remote use.
The Zoom PodTrak P8 Podcast Recorder and the RODECaster Pro were two other recorder options I seriously considered. They are both slightly more expensive and 100% focused on podcast production. The effects on the L-8 are geared toward music (my backup use for the recorder), but the P8 and RODECaster have compressors and limiters available for each input plus more sound pad options. The P8 has 6 headphone jacks and 9 sound pads (you can pre-load up to 36 recordings to playback during your podcast.) The RODEcaster has 8 sound pads and built-in Bluetooth for connecting to cellphones for remote guests, but it doesn’t have the option of battery power. In the end, I saved a little over $100 by choosing the L-8 and it also works great for recording music.
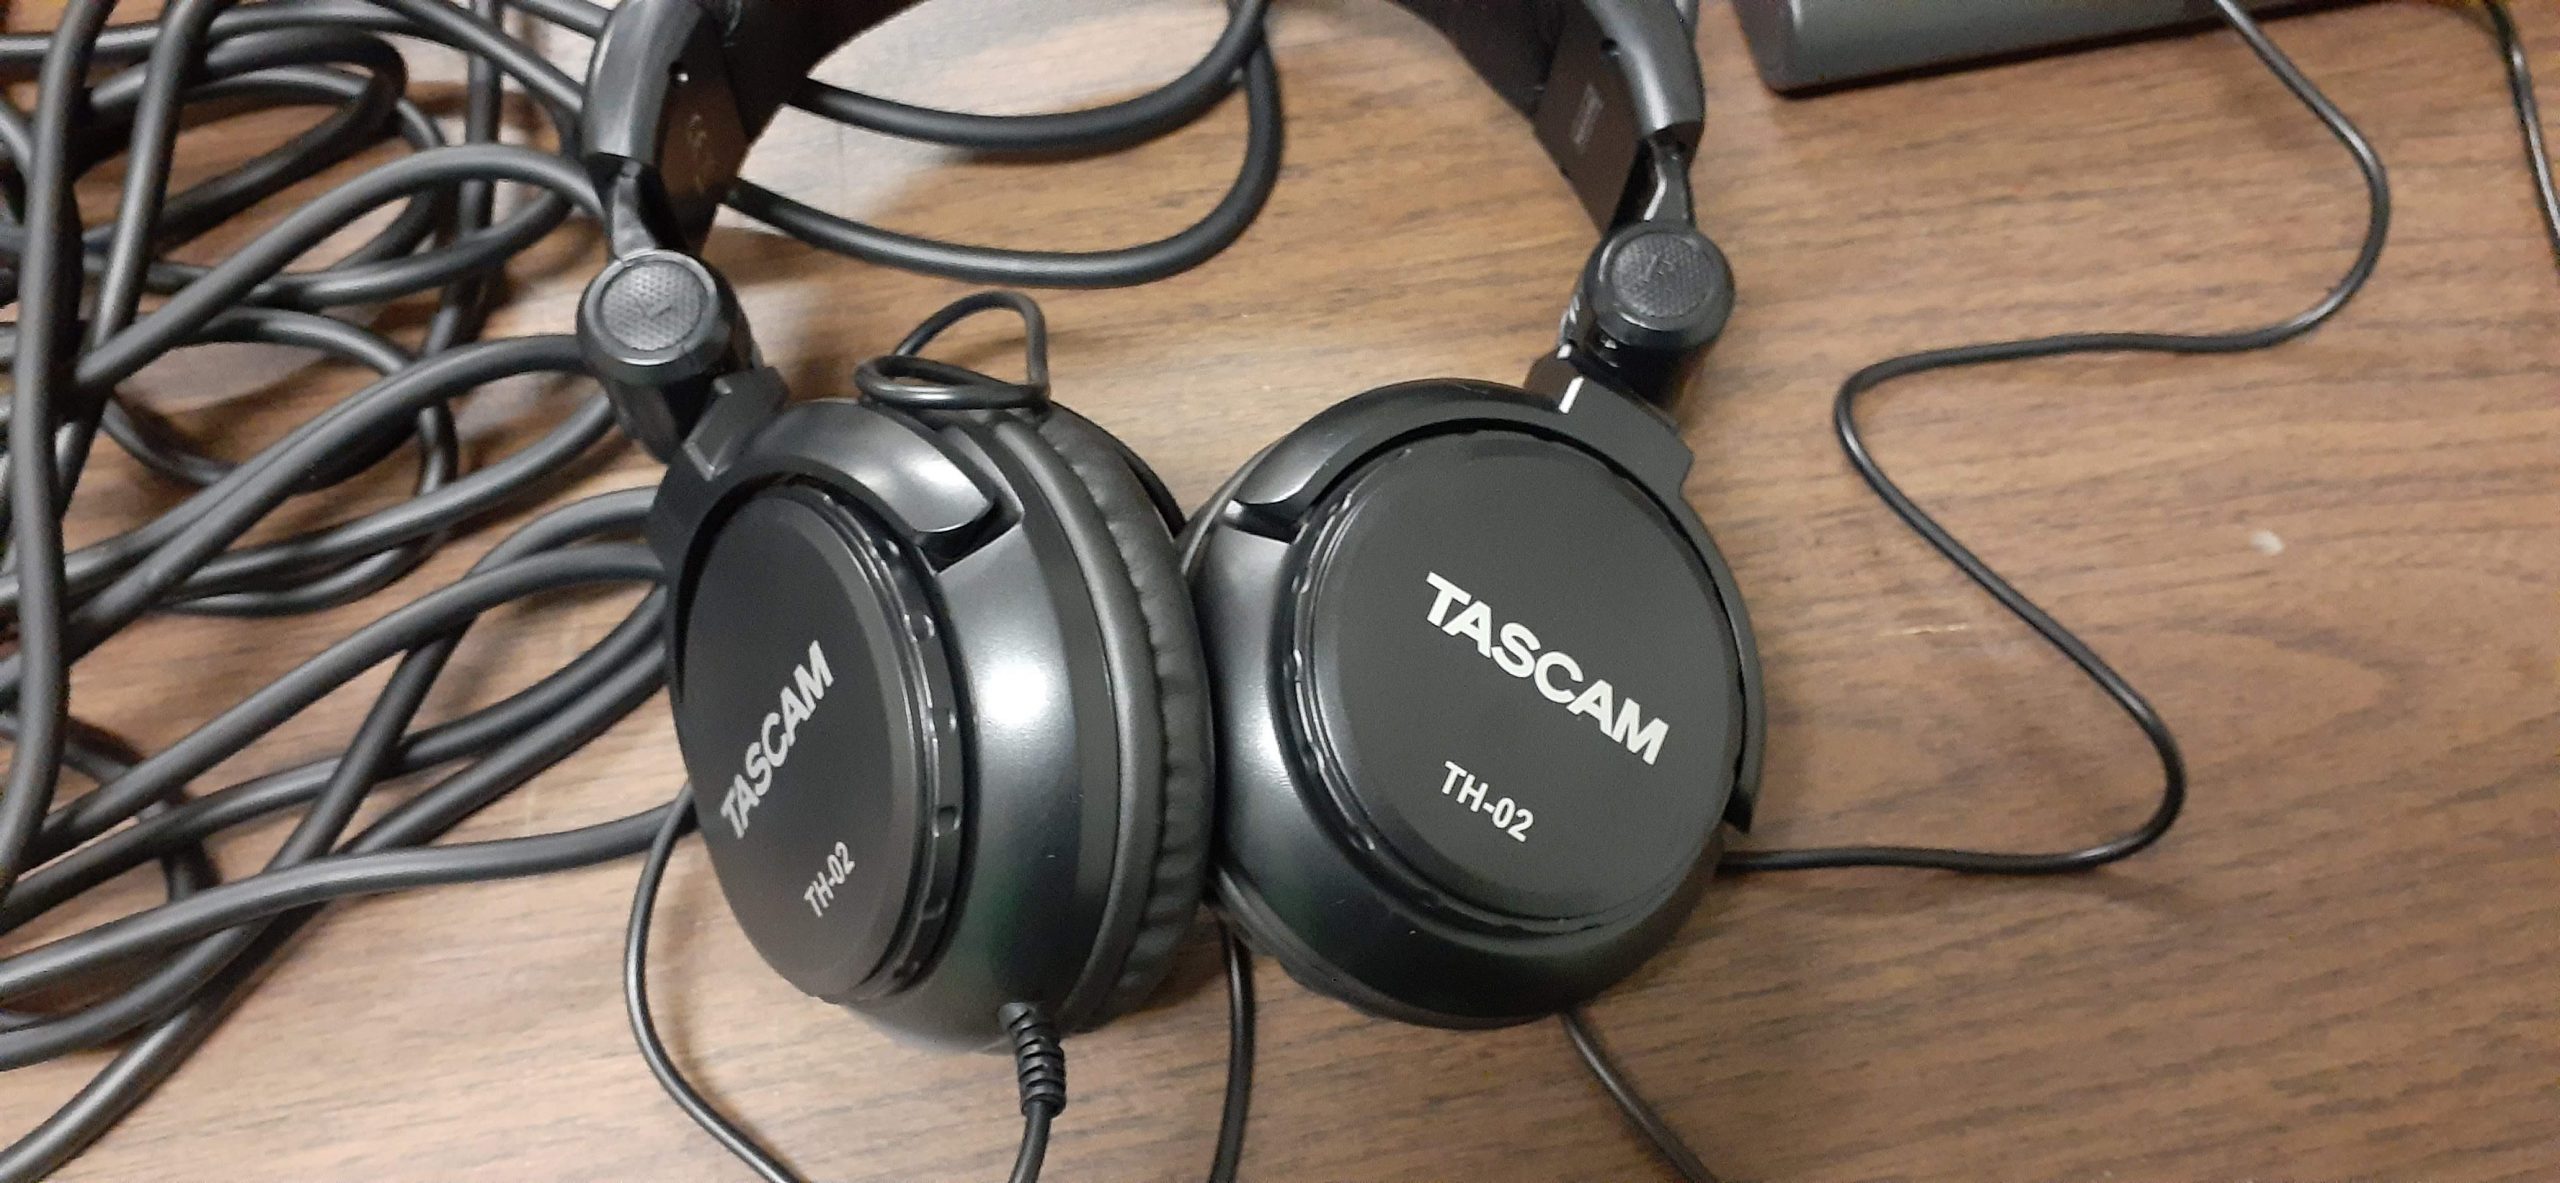
We purchased 4 pairs of Tascam TH-02 Studio Headphones for monitoring the recording and 4 Samson Q2U microphones. The headphones are decent quality and very inexpensive. The microphones were chosen for a few reasons. First, they offer decent quality at a reasonable price. But, I was also doing a bit of pandemic planning as well. When I was ordering everything we still hadn’t had any staff members come down with Covid. But, our office protocol was to quarantine if anyone got sick or was exposed to someone who tested positive. So, I wanted people to be able to work from home if necessary. The Q2U has an XLR jack for connecting to the mixer, but it also works as a USB mic that can plug directly into a computer to record audio. There is even a headphone jack in the body of the mic so you can monitor the audio directly. We never had to use them like that, but it was nice to have the option.


The Results
With all the equipment installed and configured we reduced the amount of time required to publish a podcast to roughly 30 minutes (beyond the actual recording of the show itself.) The system powers up in just a few minutes and the ministers are able to run everything themselves. The intro and outro music are loaded on the sound pads so the whole show gets recorded live.
I take the isolated tracks and the stereo mix into Adobe Audition and apply EQ and Compression presets to each track, make any required edits, and export the finished show. Since the room and equipment is the same from week to week, I can set my audio effects up once for each voice and only make small custom adjustments as needed. Plus, the finished product sounds much better.
The LiveTrak L-8 can also act as a digital audio interface by connecting it to a computer via a USB cable. Our Youth Director has used the room to record guitar and vocals for some projects and it works great for music too!
Upgrades and Improvements
Going forward there are two main areas for upgrading this podcasting studio. First is to add a custom built desk that provides more room for people around the table and allows for better mounting options for equipment and cable management. The desk will also be used for video recordings. The current table is just too small.
Once the table is upgraded, we really need to move up to a better set of microphones on scissor arm mounts. The current mics aren’t bad, but there are much better options at comparable prices if you don’t need the built-in USB option. I never did have to send anyone home with a microphone.
Do you have any questions about setting up a podcast studio?
Leave me a comment below…